Happy Thanksgiving
We have so much to be thankful for. Nicole and I embarked on this blog project a few years ago […]
Proud to be an American. The Lee Greenwood version of “God Bless the USA” is a song that rings my bell of patriotism each and every time I hear it. When we talk about American food, most of it has roots in other ethnicities however we have Americanized it.
American food is not just the red white and blue jello on July 4th, it is also apple pie and ice cream. It is golden, deep-fried crispy chicken and macaroni and cheese that is baked with a crumby topping. It is a steak grilled or smoked to perfection and ribs that fall off the bone. It is lobsters with drawn butter and a full pot of crab, shrimp, and potatoes that make a seafood boil.
Every culture has its version of comfort food. If you are from the United States, you grew up on this American food and it likely brings you much satisfaction to eat it. Partly because our sense of smell and taste are deeply rooted in our memories. Then there is the comfort that familiarity brings, I think this is why kids often like to eat the same things over and over again.
We have so much to be thankful for. Nicole and I embarked on this blog project a few years ago […]
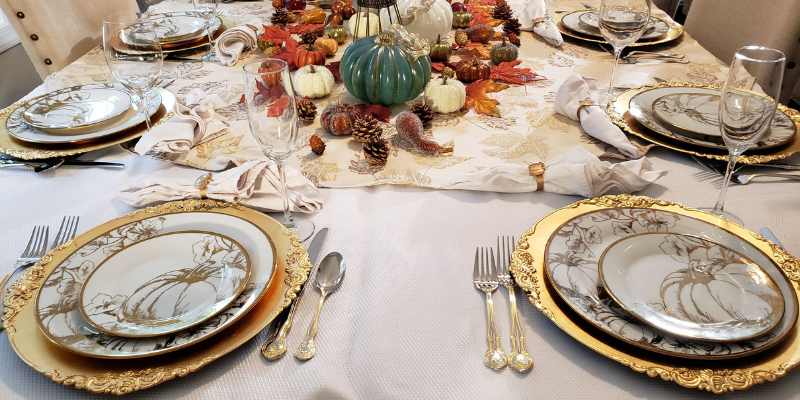
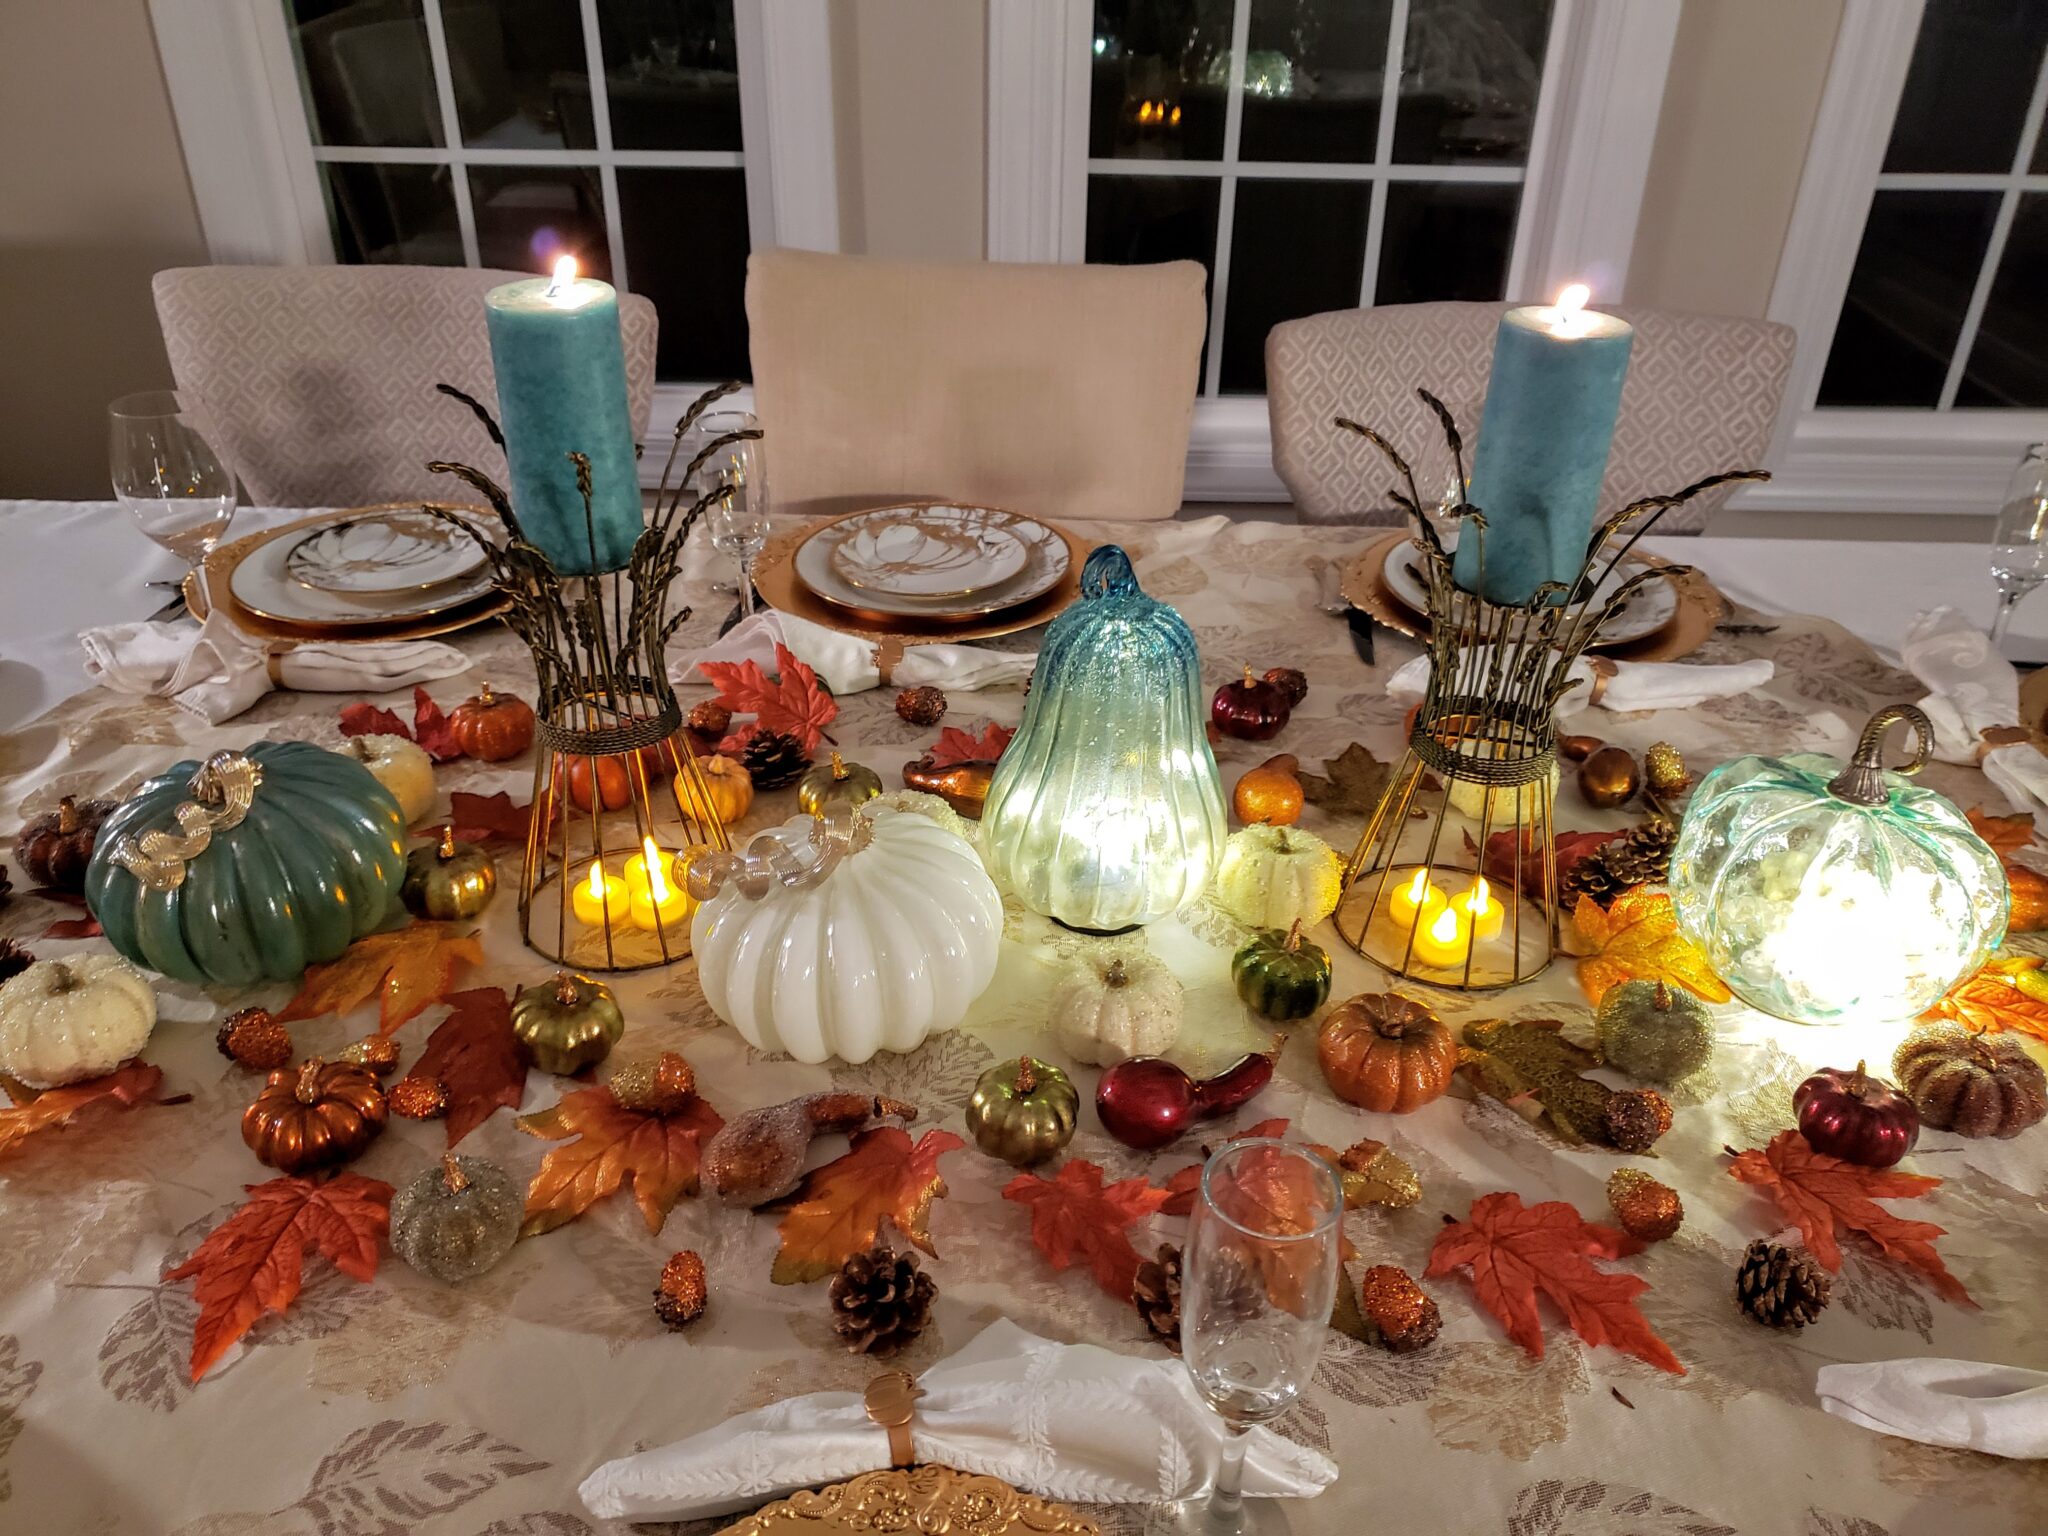
How To Host Thanksgiving Like A Pro Hosting on Thanksgiving Day is no easy feat. Sure, your mom and grandmother
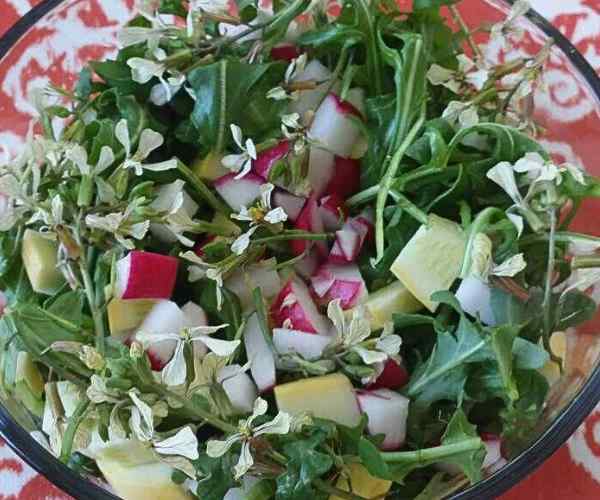
This is a beautiful salad! It tastes as amazing as it looks. Simple but elegant, with the little flowers from
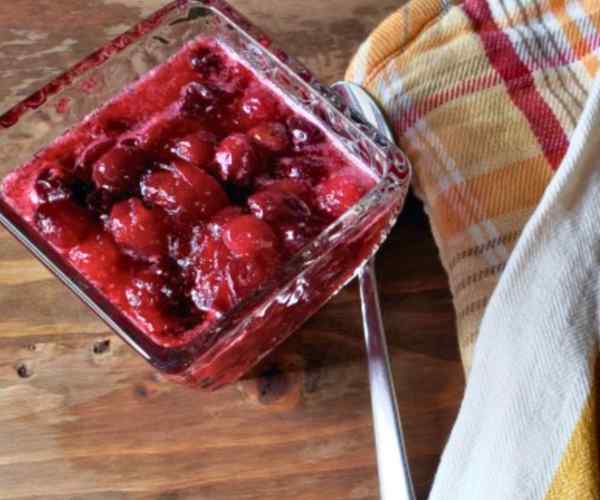
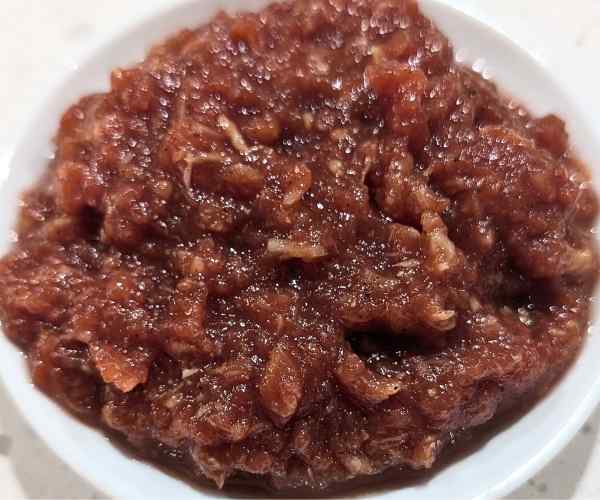
Throw away those cans of processed cranberry jelly and make your own simple, delicious, cranberry sauce this year for Thanksgiving.
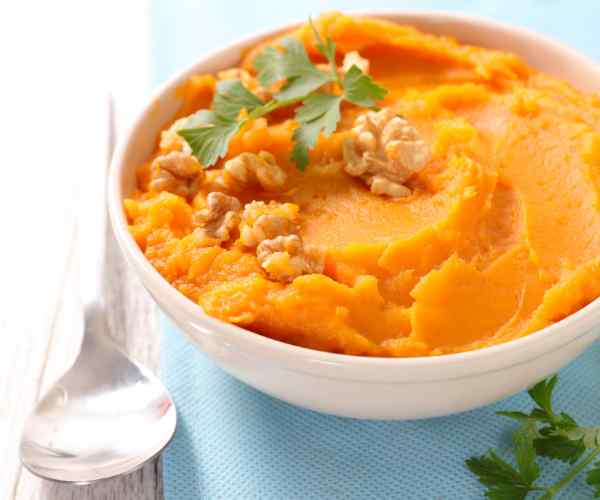
This sweet potato recipe is so easy to make. All it takes is the use of your food processor or
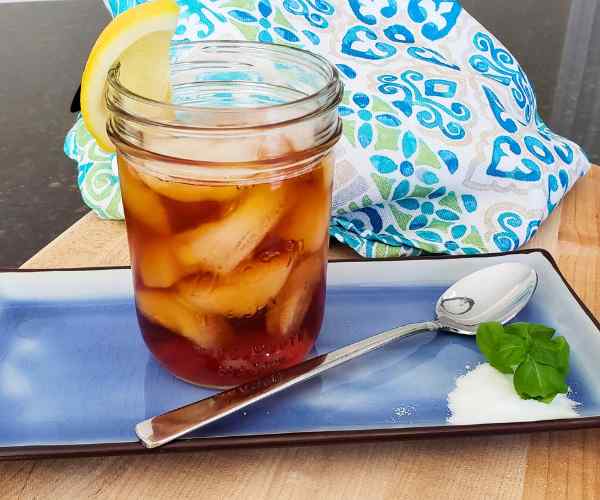
Also known as sweet tea in the southern states. My husband can never get enough of this light brown tea

This smoothie is one of our favorites. It is bright and refreshing with a little sweet and a little tangy
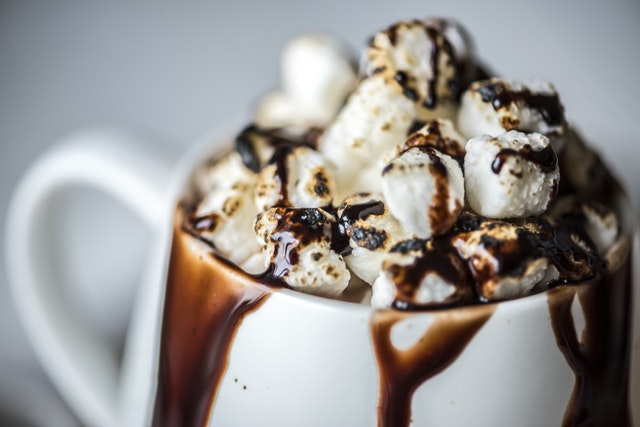
Dark chocolate is good for you right? This hot drink will make you feel like a kid again on a
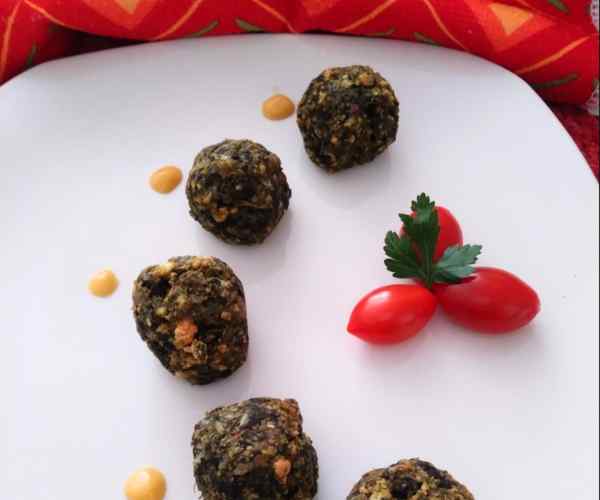
Spinach Ball Appetizers are a delightful and savory snack perfect for any gathering. These bite-sized treats combine fresh spinach, breadcrumbs,
This will be the best cocktail sauce you ever had, it packs a punch and taste great on shrimp

Buckeye Brownies combine rich, fudgy brownies with a creamy peanut butter layer, topped with a smooth chocolate ganache. Inspired by
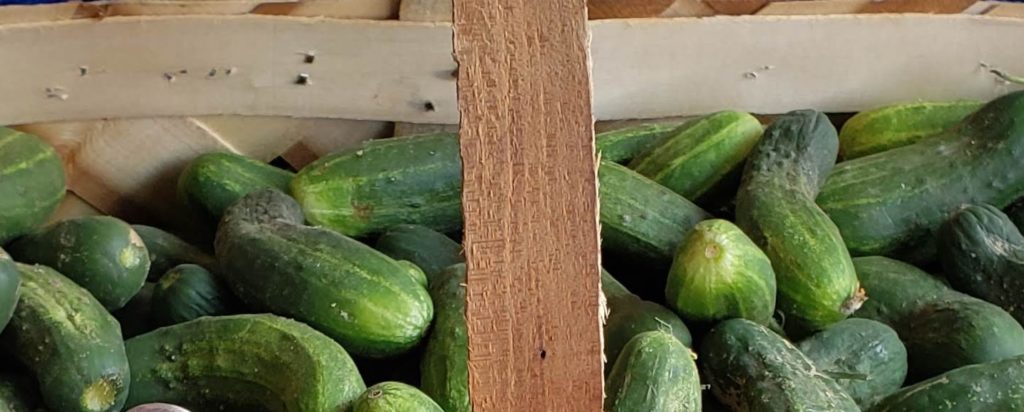
So delish, crunchy and the sweet and heat make you want to eat more. This is a traditional canning recipe