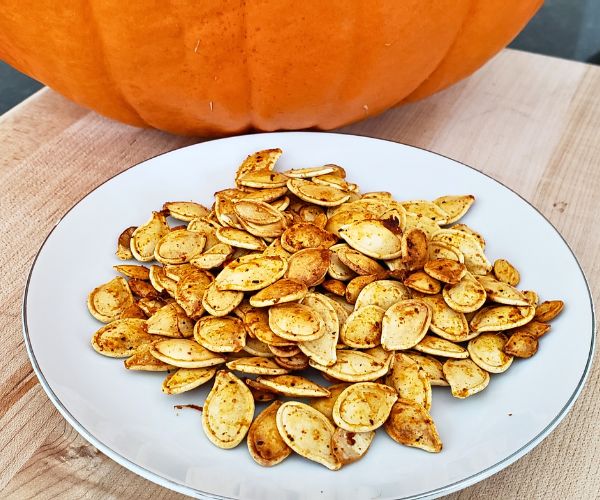
Roasted Pumpkin Seeds
Pumpkin seeds are crunchy, nutty, and slightly savory, these roasted seeds are enhanced by your choice of seasonings, offering a […]
Fall you either love it or dread it. For some, it means cooler weather and a reprieve from summer’s oppressive heat. A time to break out our bulky sweaters and boots, the promise of football season, tailgating, pumpkin spice, and hearty stews. For others, September signifies the end of many outdoor activities as the sun sets earlier and the cool night air arrives before dinner. The grills get covered while the beach chairs and picnic baskets get put up till next year.
Fall is a time of harvesting and preparing for a long cold season in most of the Eastern United States. In North Carolina we find ourselves gleaning the sweet potato fields and finding a way to use up the last of our summer garden vegetables by freezing, canning and preserving them for the winter months ahead.
Fall flavors are often associated with pumpkins and other members of the squash family which are abundant in Fall. For that reason, we commonly find spices that enhance these types of foods in popular dishes and coffee. These spices include cinnamon, allspice, clove, and nutmeg.
Pumpkin seeds are crunchy, nutty, and slightly savory, these roasted seeds are enhanced by your choice of seasonings, offering a […]
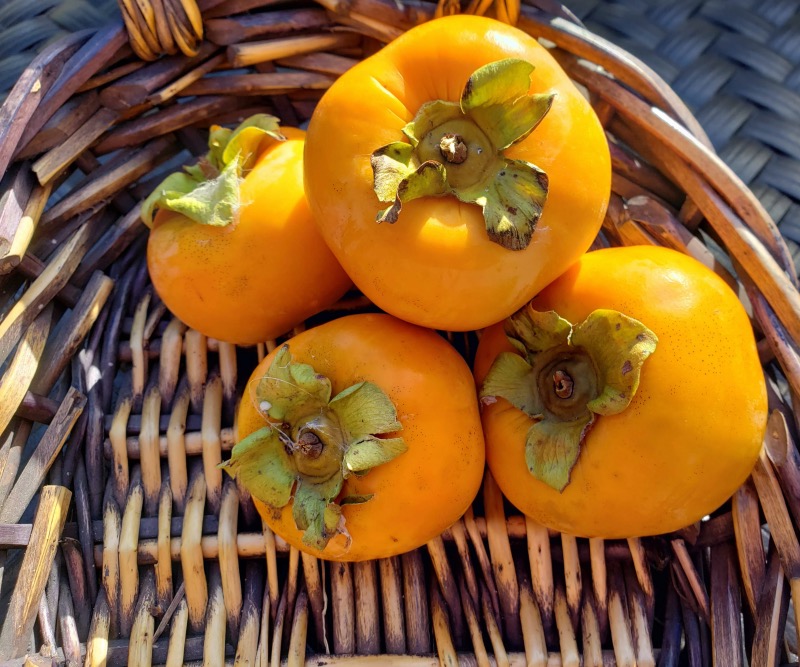
Persimmons I had never tried a persimmon before my neighbor brought some over for me that were plucked right from
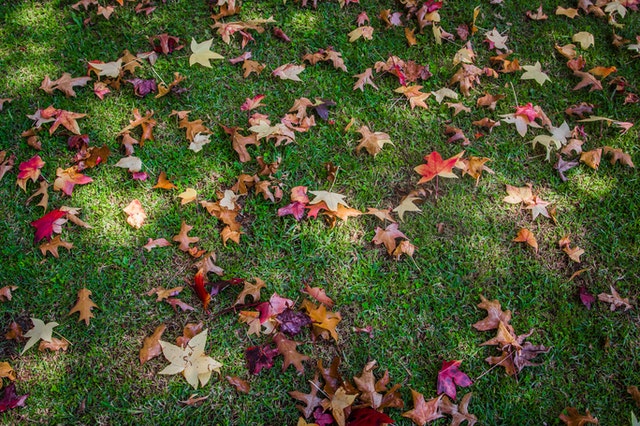
Autumn, time to leave the flip flops and shorts behind to slip into a cozy sweater, pair of soft blue
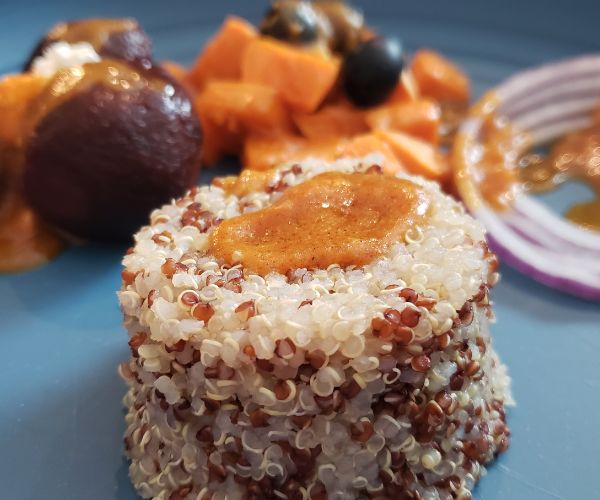
Pumpkin Vinaigrette is a delightful seasonal dressing that brings the warmth of fall to your salads. This vinaigrette blends the
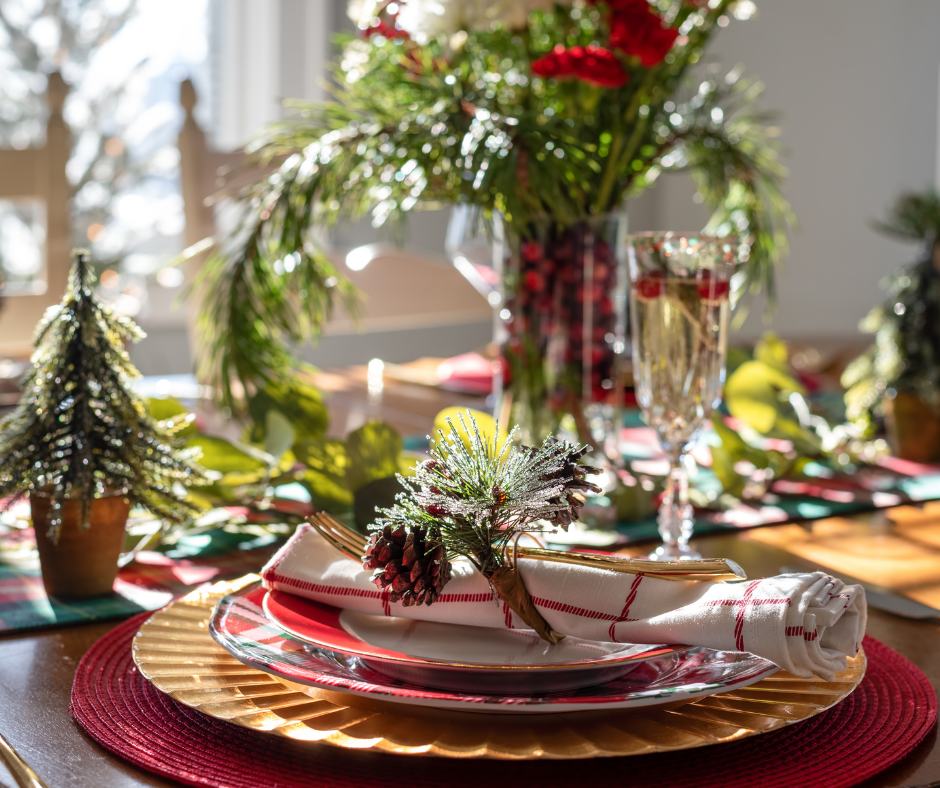
When it comes to creating, serving, and showcasing food, the choices are limitless. From setting the tone for a fun
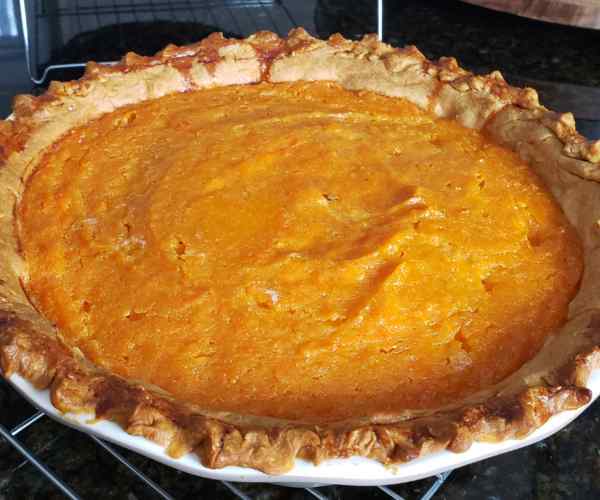
We prefer a southern sweet potato pie over a traditional pumpkin pie. Perhaps it is because the sweet potato pie
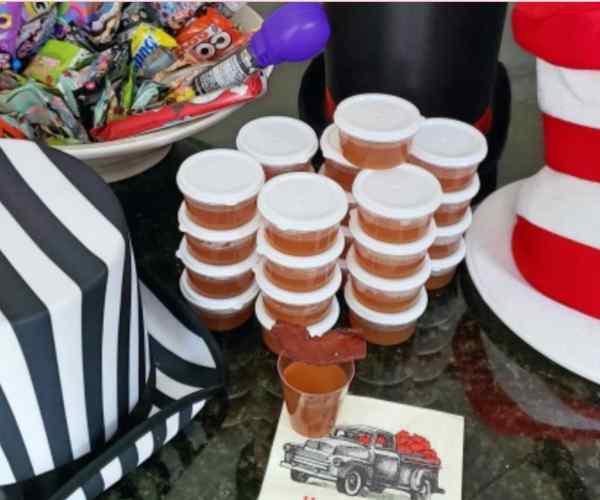
You had me at bacon, however, add in fall apple cider and bourbon and I want to scream, Yes, Please!

Pumpkin Spice you make my day I try to use you in every way Starting with my coffee pot I
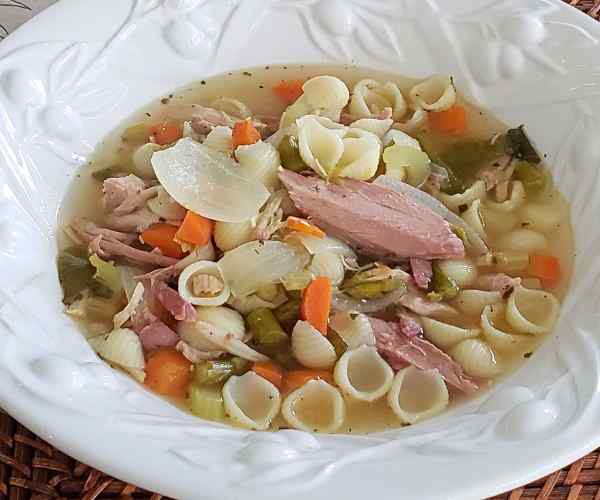
What is better after you have had all those turkey sandwiches? Soup of course!I made a Day-After Turkey Eggs Benedict for