5 Thanksgiving Food Safety Mistakes & How to Avoid Them
5 Thanksgiving Food Safety Mistakes & How to Avoid Them The Bird When it comes to thawing the bird- the […]
5 Thanksgiving Food Safety Mistakes & How to Avoid Them The Bird When it comes to thawing the bird- the […]
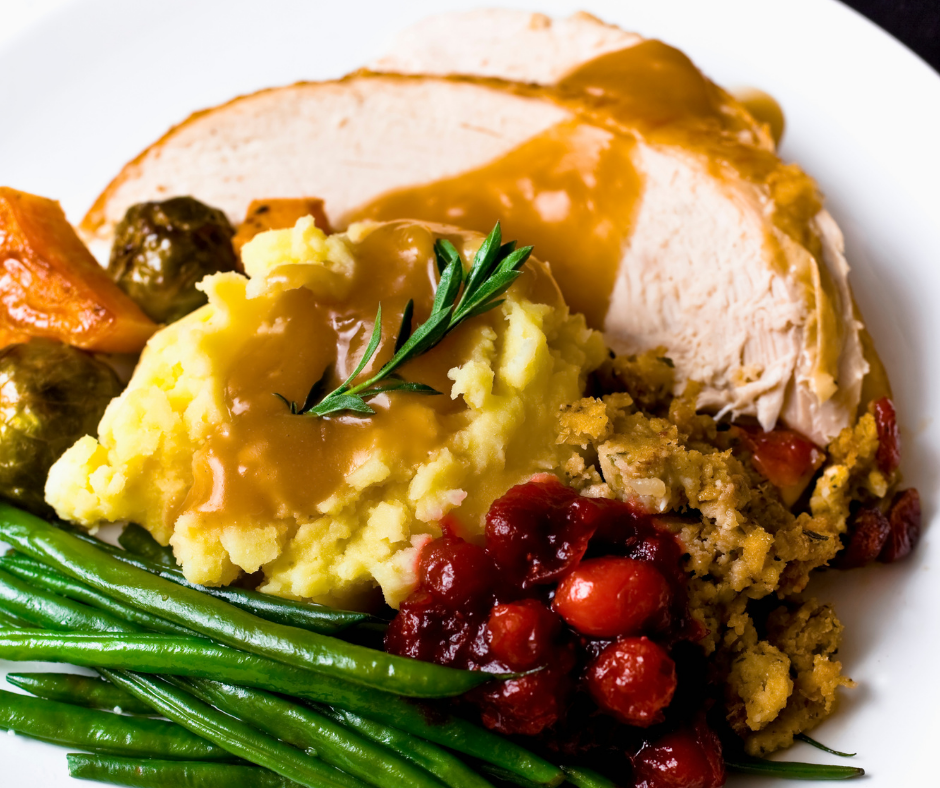
17 Ways To Enjoy Thanksgiving Leftovers Thanksgiving is over, your meal was amazing! They raved about your turkey and everyone
We have so much to be thankful for. Nicole and I embarked on this blog project a few years ago
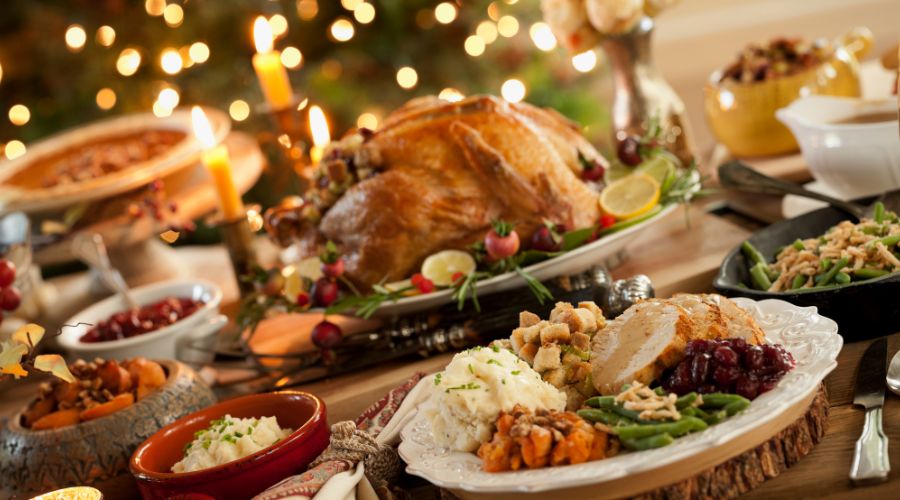
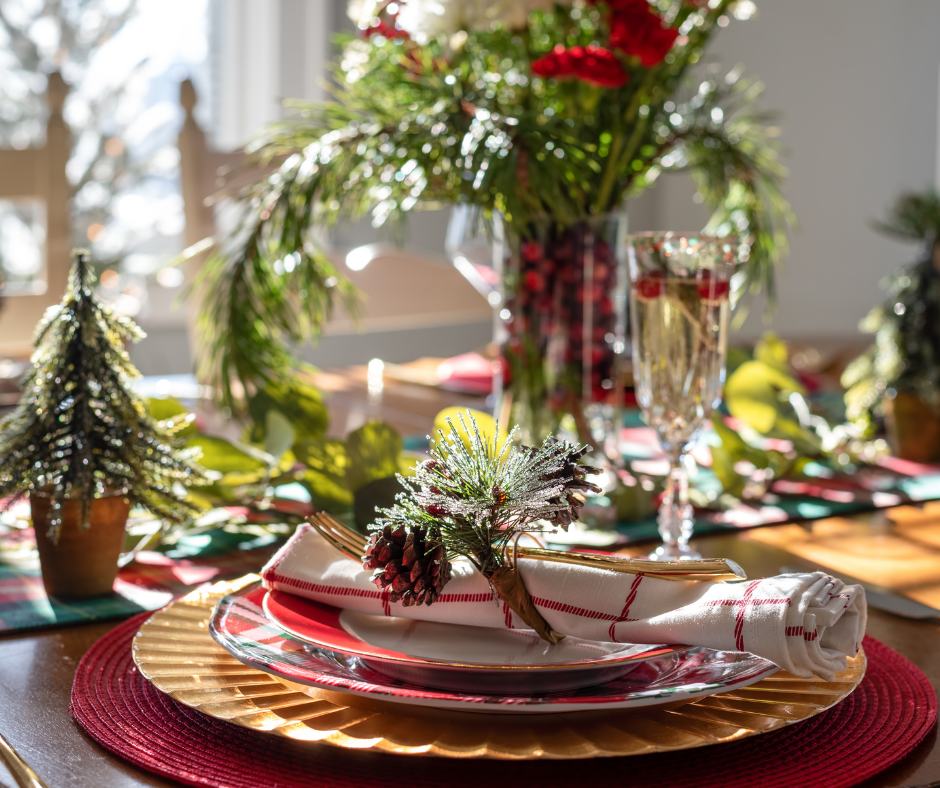
How To Host Thanksgiving Like A Pro Hosting on Thanksgiving Day is no easy feat. Sure, your mom and grandmother

Make The List – Check it Twice! Starting from the beginning with a well thought out entertaining plan will determine

We have all encountered one or all of these situations at one time. We have provided not only the hosting
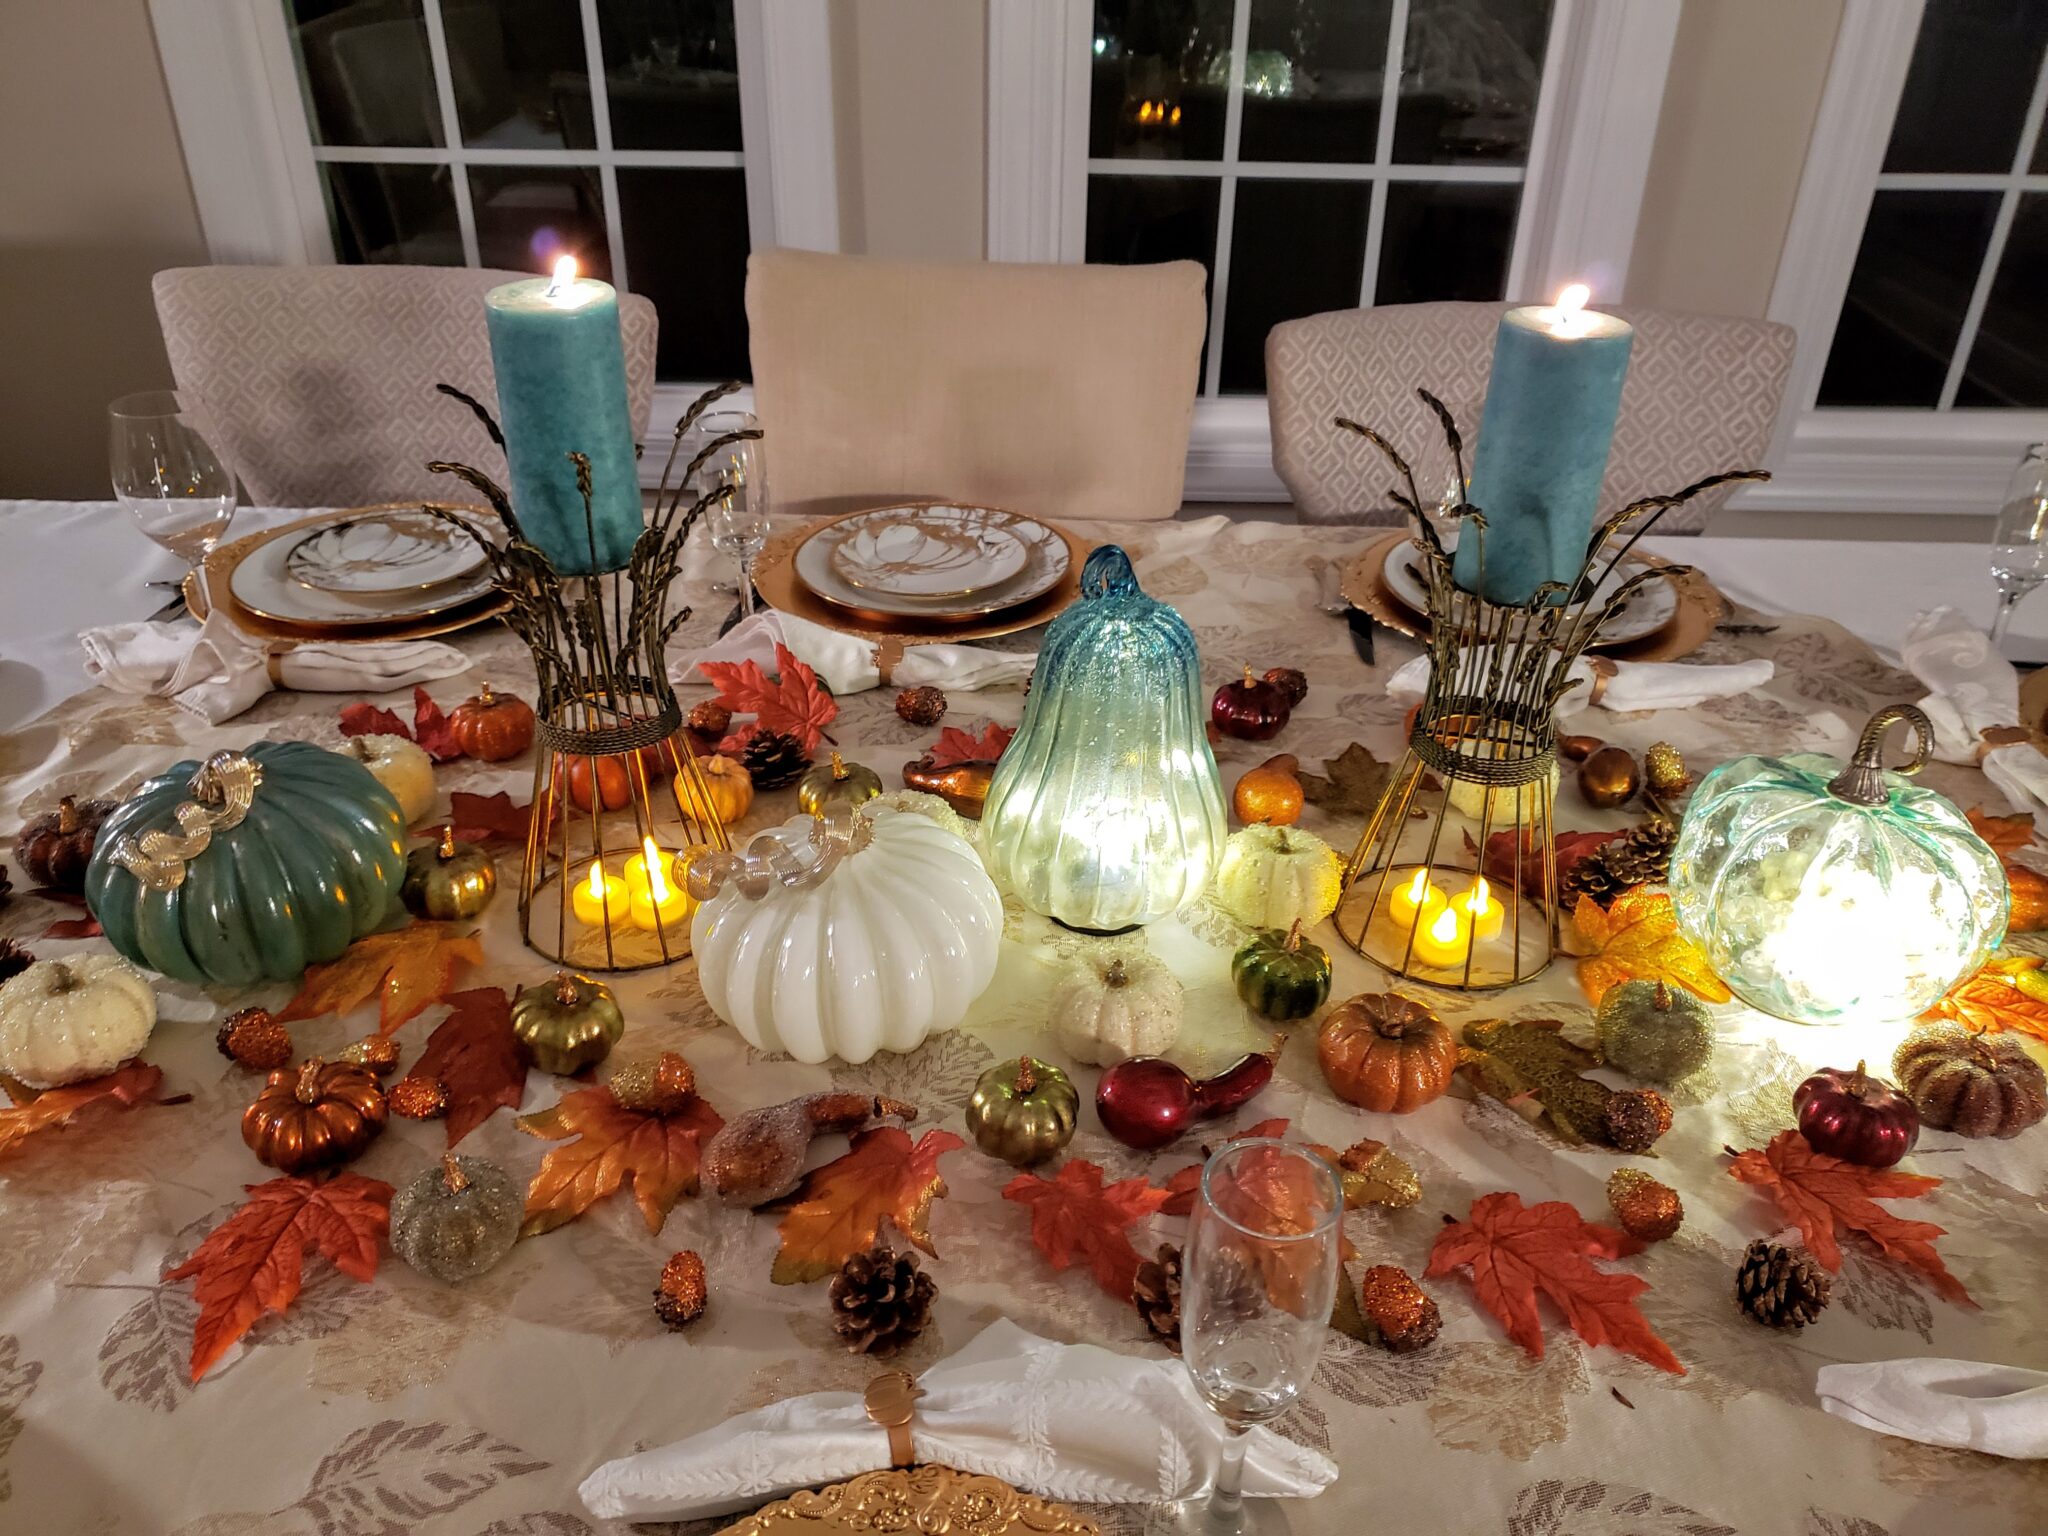
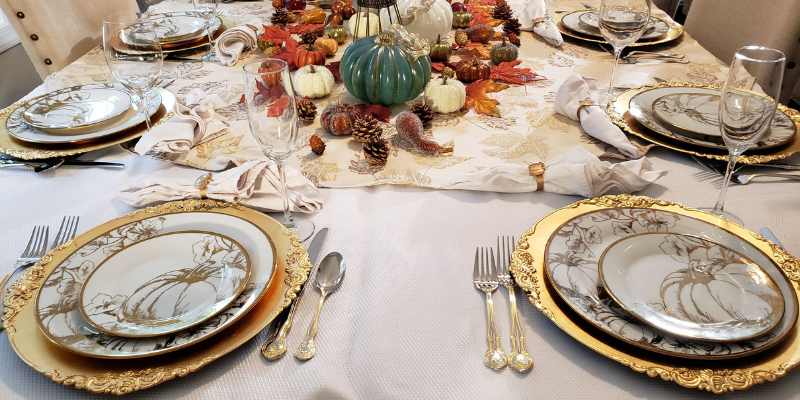
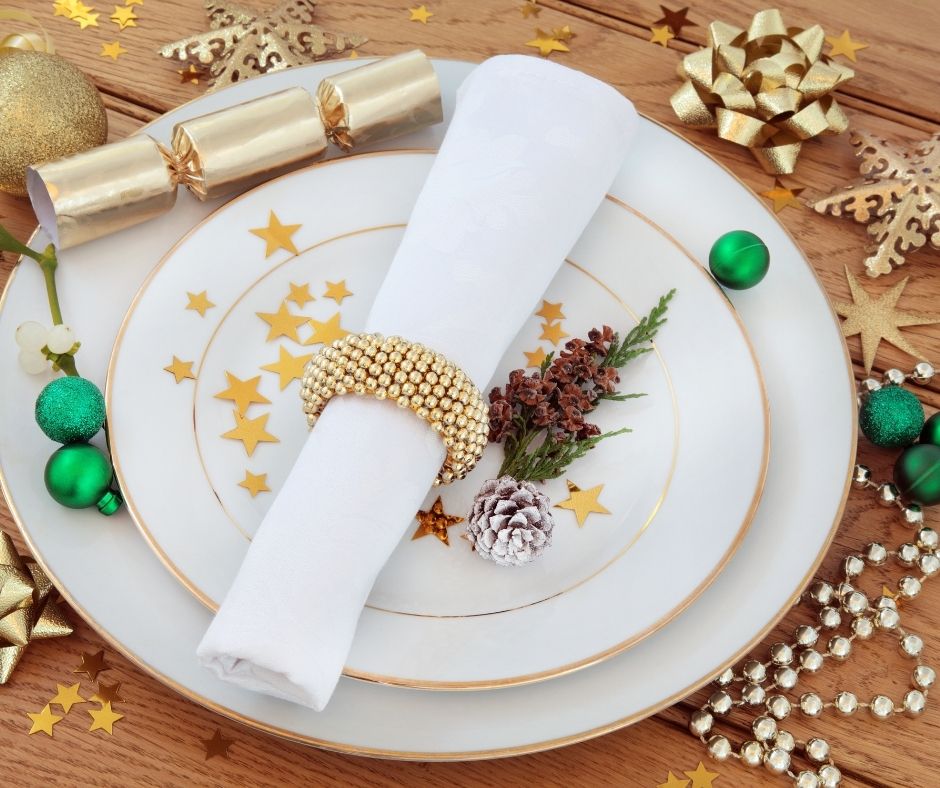
When it comes to creating, serving, and showcasing food, the choices are limitless. From setting the tone for a fun

The holiday season is now in full swing! The hustle and bustle of gift shopping, family visits, holiday parties, and
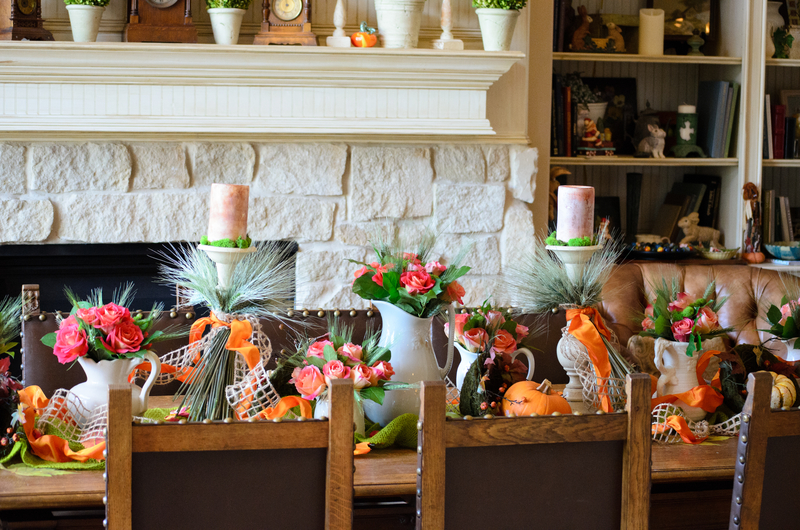
When it comes to holiday entertaining there are many ways to bring different groups of people together. A memorable holiday
Knowing that the holidays would soon be upon us, we asked the members of our Love of Food Facebook group
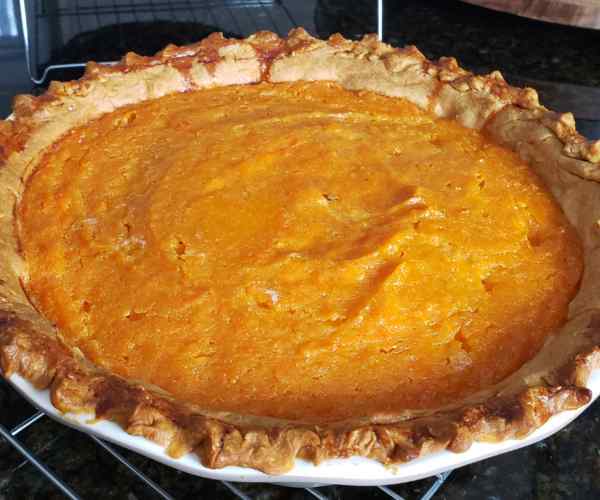
We prefer a southern sweet potato pie over a traditional pumpkin pie. Perhaps it is because the sweet potato pie
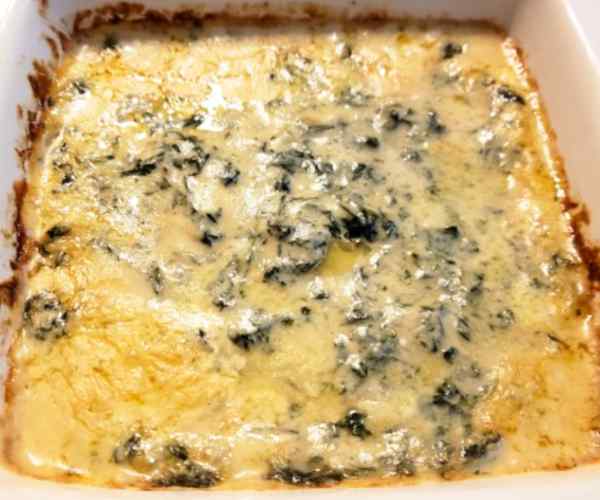
We love a creamy cheesy vegetable dish, especially on a holiday. This Kale and Spinach Au Gratin dish can be