Red Pepper Jelly - Canning Recipe
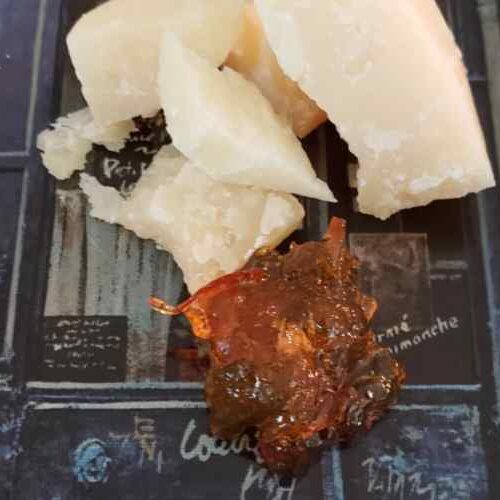
We love red pepper jelly served with hard Italian cheese such as parmigiano reggiano. In the south, it is often seen served over a block of creme cheese at Christmas time. I could eat this on chicken or pork too. I have used this jelly in a marinade and it is fantastic that way also.
Jump to Recipe
Ingredients
- 2 Cups Red Bell Peppers
- 1 Cup Green Bell Pepper
- 1 -2 Jalapeno Peppers
- 3 Tbs Red Pepper Flakes
- 1.5 Cups Apple Cider Vinegar
- 6.5 Cups Sugar
- 1.75 to 2 Oz Pectin
Instructions
- When preserving foods the jars and all the equipment used in the process need to be sterilized. This is very important so that you do not make anyone sick. Process the canning jars according to the manufacturer’s suggestion. If you are not sure how to do this check Ball’s official website www.freshpreserving.com for instructions. They also have ideas for and recipes for canning.

- Remove stems, seeds, and pith, from the peppers. (some recipes say to leave the pith on, I did not since I find the pith bitter and did not want to add a bitter taste to my jelly.) Use gloves when working the hot peppers and be careful not to touch your eyes.
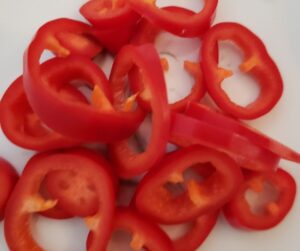
- Using the food processor place all the peppers and pulse until they are tiny bits. You may need to scrape the sides down to get any chunks missed by the blades.
- Add to a non-reactive stockpot, the vinegar, sugar, peppers, and pectin. Bring it to a rolling boil quickly over high heat, stirring constantly, then reduce and let it boil 1 -3 minutes more. Keep a careful watch over it as it will foam up. It is normal that it foam, just lift it away from the heat to an unused burner. If you still have foaminess when it stops boiling simply scrape the foam off and toss that part in the sink.
- Fill the dry, sterilized, still-warm jelly-jars (never cold) with the mixture. Using a wide-mouth funnel is recommended, but if you use a ladle directly be very careful this is extremely hot melted sugar and will stick to your skin and can severely burn you. Leave a 1/4 inch space at the top of the jar for air.
- Seal immediately with the metal lids and screw on the bands. Bands should be well secured but do not tighten strongly.
- Place all the filled jars back into a pot of boiling water. (If you used the boiling method to sterilize your jars you can use that same pot and water).
- If you are using a canning rack (recommended)lower jars into the water. I used the Secure-Grip Jar Lifter since my jars were small.
- Keep water level and inch above the jars. Bring back to a rolling boil for 10 minutes.
- Remove from the water once safe to do without getting burned by steam or hot water, by lifting out the rack or using the Secure- Grip Jar Lifter. Remove any residual water from the jars and set aside to cool.
- Once cooled the tops of the lids should not flex up or down when pressed in the center and you should see a dimple in the lid. You may even hear a pop of the lid as it cools, that is good!
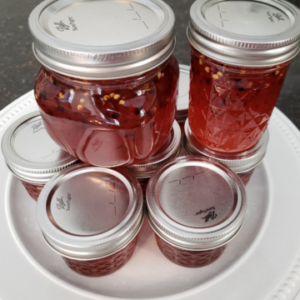
- If you don’t see this dimple or you feel flexibility on a jar lid or two, all is not lost, simply put those jars into the fridge and eat within a few weeks. The food is good, just not fit for dry storage.
Notes
Always follow the official Ball canning instructions as improperly canned foods can can be toxic.
As a side note: Several factors can change how pectin reacts therefore if you have any problems with it setting-up properly don’t worry. You can reboil it and add more pectin and sugar to firm it up. If your jelly is too stiff, you can dilute it and use it as a glaze.
Nutrition
Calories: 181kcalCarbohydrates: 46gProtein: 0.3gFat: 0.3gSaturated Fat: 0.03gPolyunsaturated Fat: 0.1gMonounsaturated Fat: 0.03gSodium: 26mgPotassium: 56mgFiber: 1gSugar: 44gVitamin A: 575IUVitamin C: 17mgCalcium: 5mgIron: 0.3mg
Tried this recipe? Click on the Stars at the top of the recipe or leave a review right here
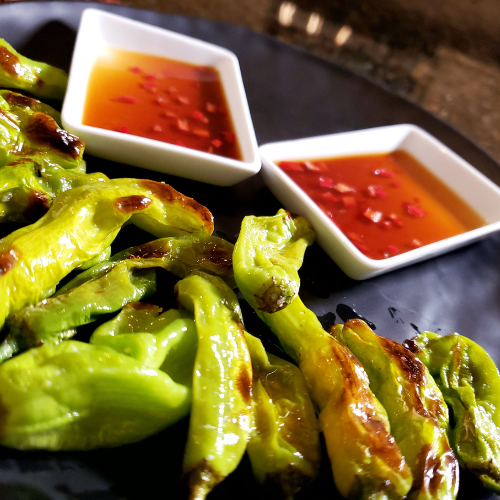
Blistered Shishito Peppers W Chili Lime Sauce Recipe
Wow! These flavorful little peppers are full of flavor, with very little heat. The Chili Lime Sauce elevates each bite. Caution: the sauce will tempt you to double dip we suggest providing each person their own dipping sauce vessel.
Check Out This Recipe
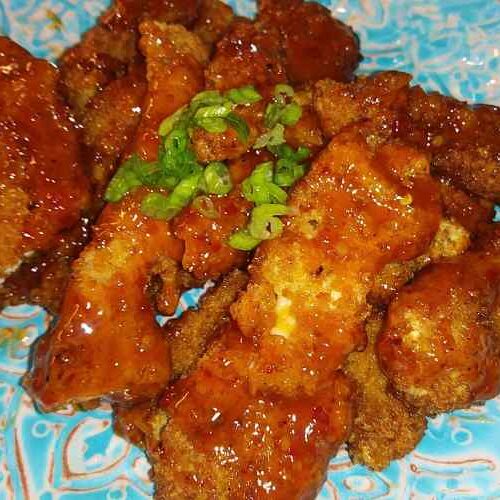
Chicken Tenders w Asian Chili
The red pepper combined with the sweet flavor of the Asian chili sauce transforms plain old chicken tenders into a game day or anytime treat. Kids love them and since the sauce is on them no need to create an extra dish. This one pan meal is easy to carry to any gathering.
Check Out This Recipe


Making it myself is nice because I control the amounts of ingredients. i like mine fairly spicy so I increased it a bit.