Pasta From Scratch
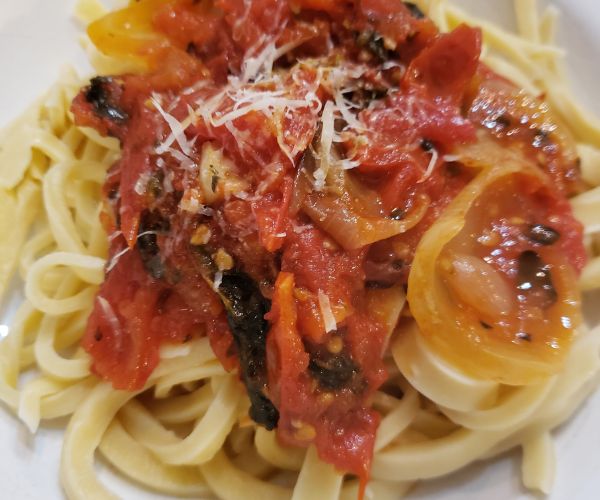
Making pasta from scratch is a rewarding experience that brings you closer to the roots of Italian culinary tradition. Fresh, […]
Making pasta from scratch is a rewarding experience that brings you closer to the roots of Italian culinary tradition. Fresh, […]
This 1-Pan Italian Chicken is the perfect solution for a delicious, hearty, and cost-effective meal! Packed with juicy chicken, crisp
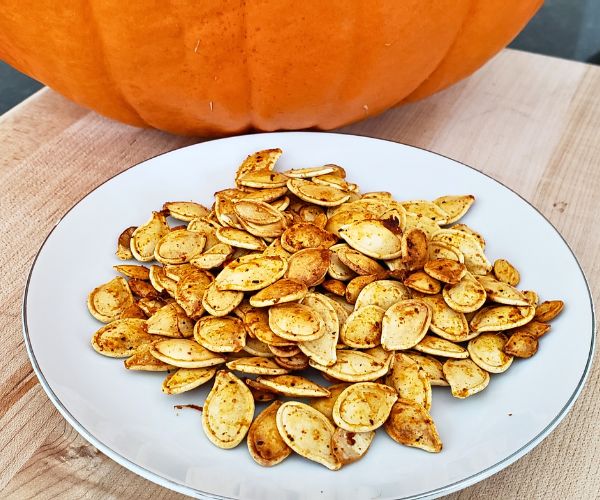
Pumpkin seeds are crunchy, nutty, and slightly savory, these roasted seeds are enhanced by your choice of seasonings, offering a
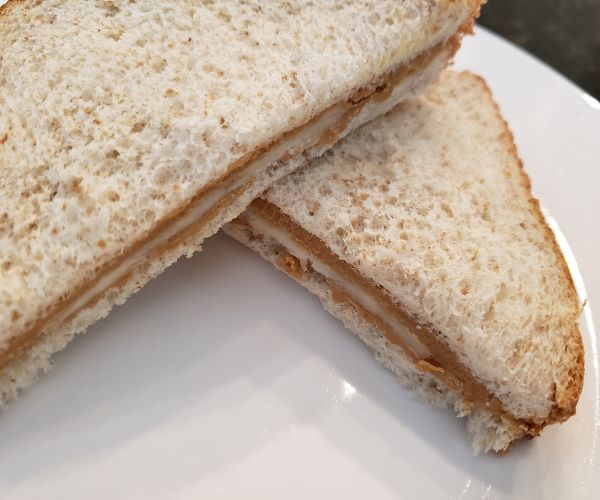
If you are not making these for a quick easy lunch or snack, you are missing out. These freeze perfectly

This crunchy breading makes these oven baked pork chops taste more like fried. They sell this breading in a box
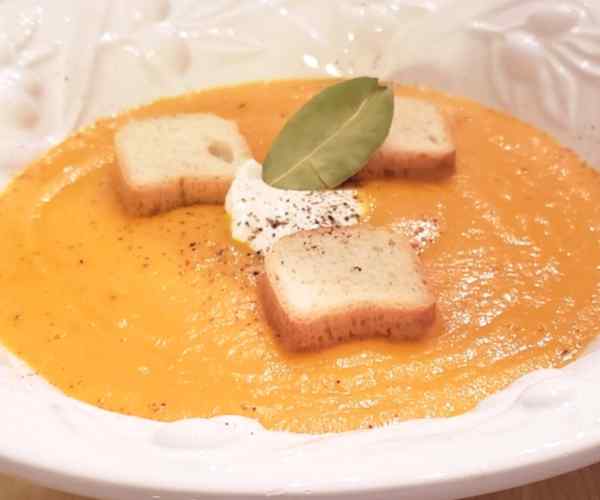
This vibrant Carrot Ginger Soup is a delightful blend of sweet, earthy carrots and the warming spice of fresh ginger.
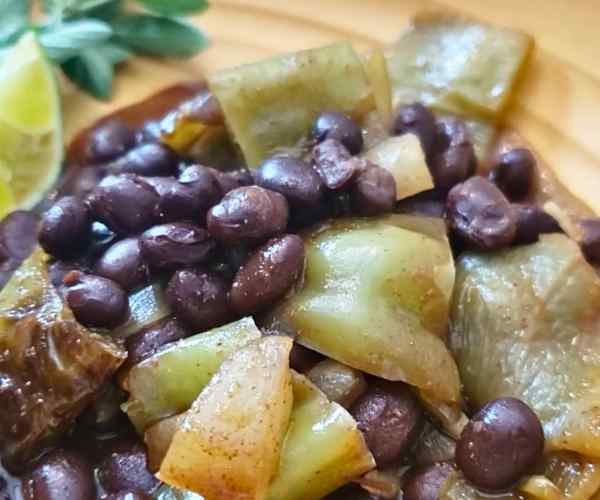
These beans were the perfect accompaniment to our Puerto Rican pork roast called Pernil. They were spiced enough to stand
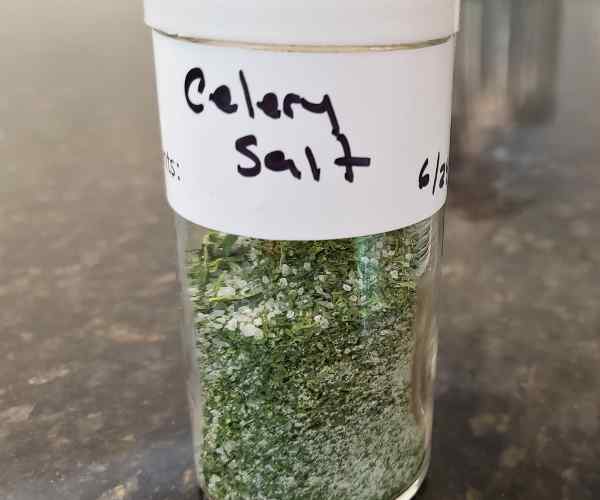
We normally use the leaves from the celery stalk in soups or stocks. In the summer we do not make
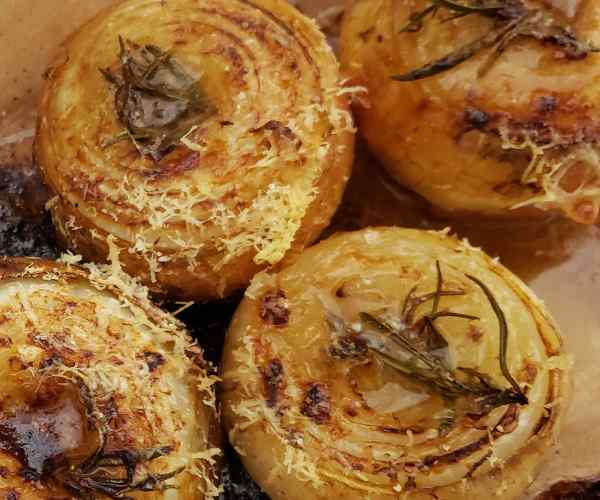
This side dish of Onions was so yummy that we just had to find a way to shorten the cooking

We started making our own breadcrumbs out of left over sandwich bread. However if you are a parent and make

This is not your plain old ramen noodle lunch. Although the recipe is quite simple when you use the packet
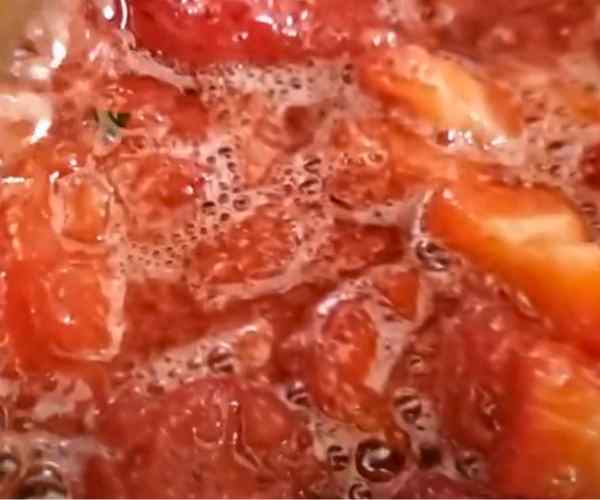
What can you do with the tart tasting strawberries or the ones that are starting to turn? Make a Strawberry