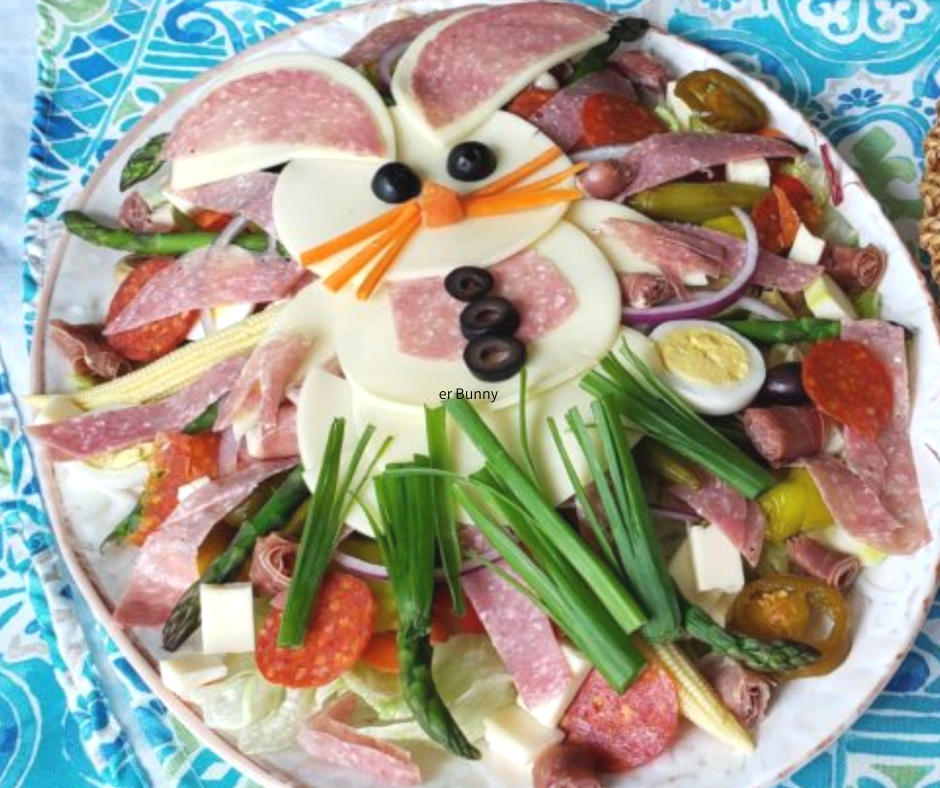
Easter Bunny Antipasto
The Easter Bunny Antipasto Salad made the first appearance at my extended family’s Easter celebration. Being of Italian descent they […]
The Easter Bunny Antipasto Salad made the first appearance at my extended family’s Easter celebration. Being of Italian descent they […]