How To Host Thanksgiving Like A Pro
Hosting on Thanksgiving Day is no easy feat. Sure, your mom and grandmother made it look easy, however, it’s those years of trial and error that allowed them to host a perfect Thanksgiving with expert precision.
Remember that old saying “practice makes perfect.”
Your granny and mom had many years to get it right. They had the same levels of anxiousness that you do, They to had to host their first Thanksgiving with the critical eyes of others critiquing their meal.

From planning a guest list, to packing up the fine china to store for the next holiday, and everything in between. We will guide you through how to make your Thanksgiving gathering a success.
Where Do You Start?
Plan Ahead Of Time
There is no such thing as an impromptu Thanksgiving meal. If you plan to host a Thanksgiving gathering you should be thinking about things such as your guest list, budget, menu, and space at least a month ahead of time.
Start A Guest List
A month a head at the very least by Oct 31st which is Halloween, your guest list should be solidified. In other words you have identified the must haves attendees for your meal. You may still add in one or two guests later if you have the room. By now you need to know how many people you will be feeding.
Set A Budget
We all live with a budget, whether it is a strict rule or more of a flexible set of limitations. Restaurants watch food costs closely in order to be profitable so why not take a cue from the pros.
During the holidays many people try to recreate happy memories using favorite recipes and flavors. When hosting a Thanksgiving meal in your home, food costs can run amuck if you do not plan.
Come up with an amount that you can comfortably afford to spend to set your table and plan your meal. Be realistic about what you will spend, there is a huge price difference between fresh turkey selected from a local farm and a frozen turkey from the supermarket.
Will you provide wine or other adult beverages? The costs can add up quickly with some bubbles to start, a wine with dinner, and a sweet ending.
If you plan to purchase cookery, table settings, glassware all of that must be included in your budget.


For The Non Planners
If you are reading this article and it is a week or two before Thanksgiving don’t fret. You can still pull off an amazing Thanksgiving gathering.
We will provide tips that will allow you to pull off a successful holiday meal in the short term.
Just be aware you will have to work a bit harder, spend more than you should have to, and you may have to sacrifice some formality and elegance.
Guide To a Great Guest List
When planning your guest list be realistic about how many people you can comfortably entertain in your space.
Think about who will be at your gathering, it is okay to have an eclectic crowd, it often makes for the most memorable Thanksgivings.
Think about what you learned sitting around the table as a child. Likely there were lessons about family dynamics, patience, and civility.
Keep in mind where you seat people, placing two people next to each other who do not agree on most issues and do not get along is a bit risky.
Accommodating Dinner Guests
To be a gracious host, taking into consideration the dietary needs of each guest is crucial. Many people have allergies and sensitivities to foods.
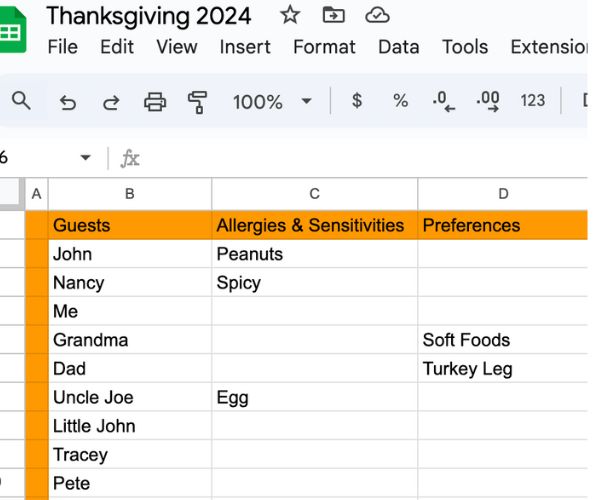
The very first step in your menu planning is to create a spreadsheet of your guest list and placing any food allergies, sensitivities, or preferences next to their names.
Elements of An Entertaining Space
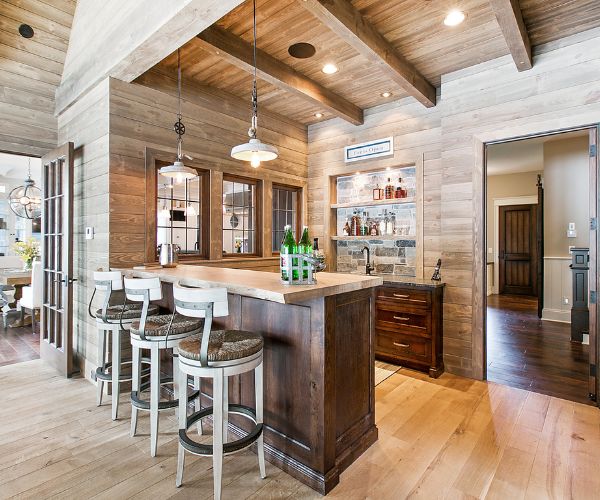
Whether you have a small apartment or a large home, space is a crucial element in making your guests feel comfortable. Make sure there is enough room for people to mix and mingle before being seated.
For example, if you live in a small apartment with a balcony why not serve appetizers and a welcome cocktail or mocktail on the balcony? Have a rain plan ready like a small tent if the patio is not covered.
If you live in a very large space it would be best to create cozy areas for people to gather in just 1 or two rooms.
You can even block off areas of the home by making them less inviting. Try simply turning off a light in that room or by placing couches or other pieces of furniture at the opening of the room facing backward. This sends an underlying message that the room is off-limits.
Plan ahead for a place for your guests to put their purses, shoes, and coats, this will help contain clutter during the day.
Plan your table seating, always take into consideration the extra people who may get added to the list at the last minute. Make sure you have enough chairs and room for these folks. I think in my parent’s house this is how the children’s table evolved.
You can get creative by adding in a table in the kitchen and calling it the chef’s table.
One friend who had a small dining room and a small living room used to place a table in each room, however, she made sure that she sat at one table with her guests and her husband sat at the other to ensure everyone felt special and cared for.

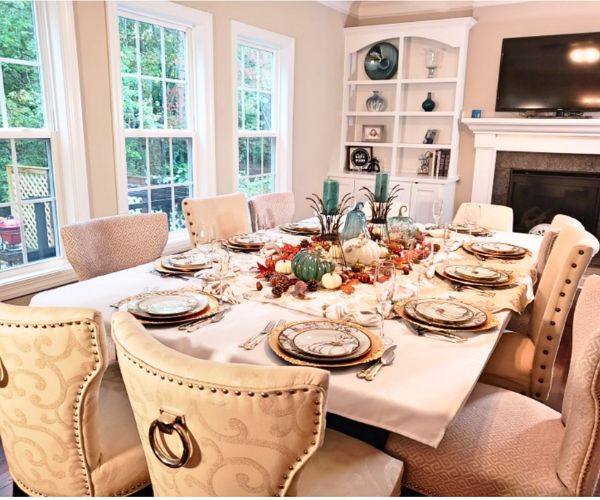
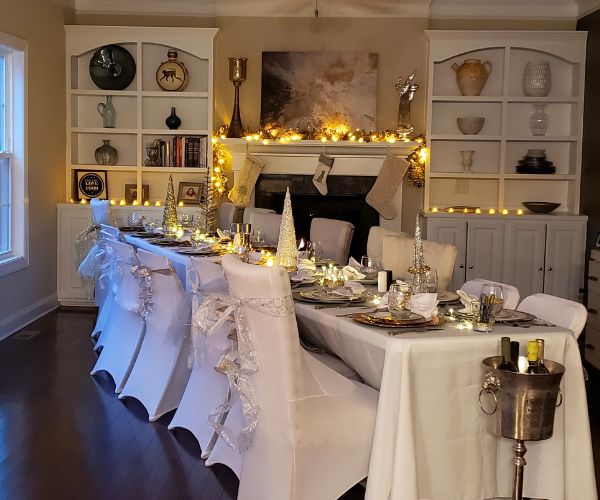
One year we dined in our living room. We simply moved all the couches to one wall and moved the coffee table out of the room. We set up two folding tables to make a long and wide table.
The idea was to have lots of room for the tablescape in the center and comfortably seat our 10 guests. (All my chairs did not match 100% but that can be solved with some inexpensive chair covers).
For Christmas we hosted an even larger crowd for a dinner party.
We ordered some chair covers from Amazon that really did the trick.
The Kids Table
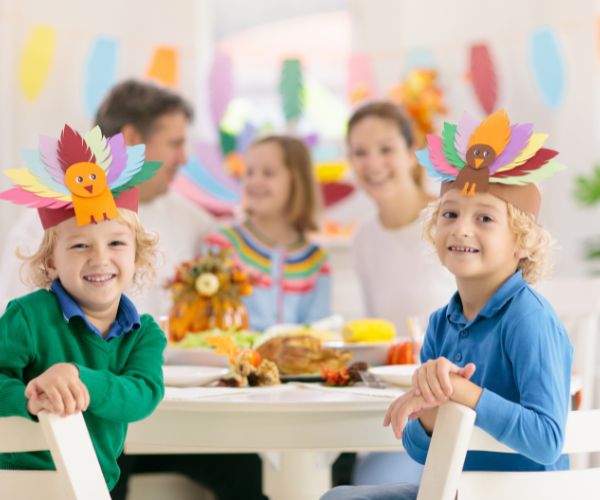
Should you have one? If there is more than one child, the answer is absolutely yes.
Line the table with a plastic tablecloth. Tape it down underneath with some masking tape so that it does not drape, as kids can easily pull and trip on draped clothes.
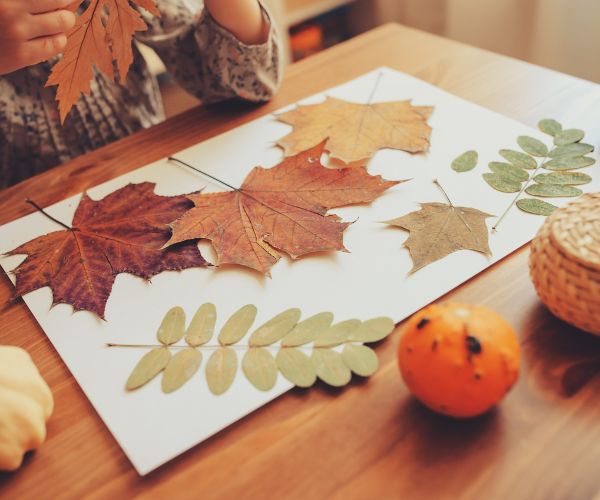
Cover the plastic tablecloth with butcher’s paper. Brightly colored fall leaves would make a great kids centerpiece. You do not want too much height on the children’s table. Maybe a real pumpkin or two.
Take into consideration the ages of the children. If they are young children be sure to provide them with something to do aside from just eating. Little hands need things to fidget with. Crayons are a good start.
Menu Planning
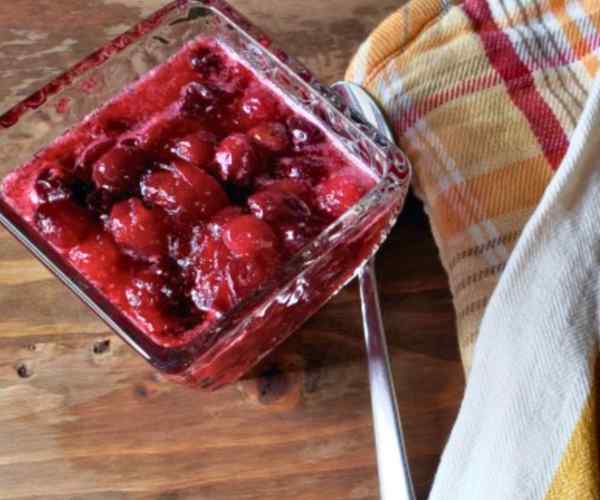
Plan for foods that can be made in advance, somethings like homemade cranberry sauce or cranberry relish can be made two days ahead and still taste like you just whipped it up.
You will be surprised at how much can and should be made ahead of time. This will save you time on Thanksgiving day so you can spend time with your guests and it will save you money.
For example, biscuits and rolls cost cents to make as do pies and other baked goods.
Making items on your menu in advance will allow you to serve more scratch-made foods.
Food that is not mass produced always tastes better and homemade dishes are what make your Thanksgiving meals more intimate.
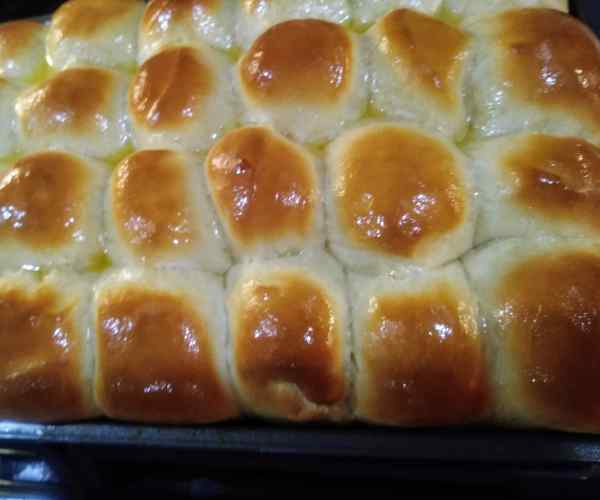
Thanksgiving is not the time for a trial run.
A good tip is to do a trial run of any new recipes, or techniques you would like to incorporate. I try out new dishes at potluck events or just invite a few neighbors over to try it to see if it goes over well. If it passes the taste-test, the dish makes its’ way onto my Thanksgiving menu.
Last year a new Sweet Potato Casserole with Bourbon, Bacon, and Pecans was tested three times and perfected prior to Thanksgiving. I also made a Air Fryer Onions twice before Thanksgiving.
Test recipes weeks in advance, you will not want to put yourself under unneeded stress a before the big day. You will want to start assembling, preparing and storing your actual food a week ahead of time.
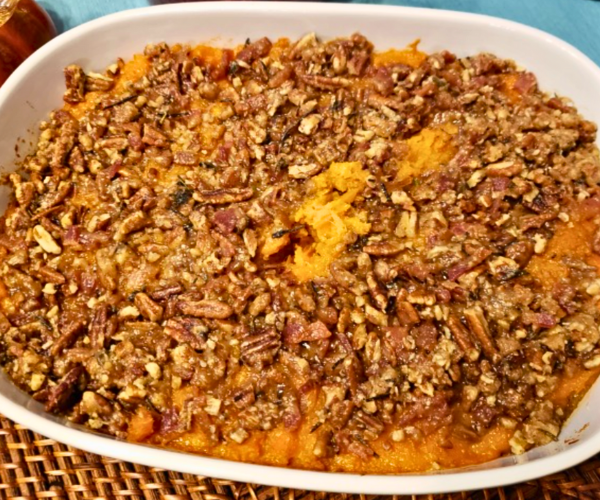

Making elements of your meal ahead of time makes sense
Meal Prep For Thanksgiving
Baked items like pies and cookies can be prepped ahead and placed into a freezer to be cooked. They will taste just as good when you heat them up on Thanksgiving day.
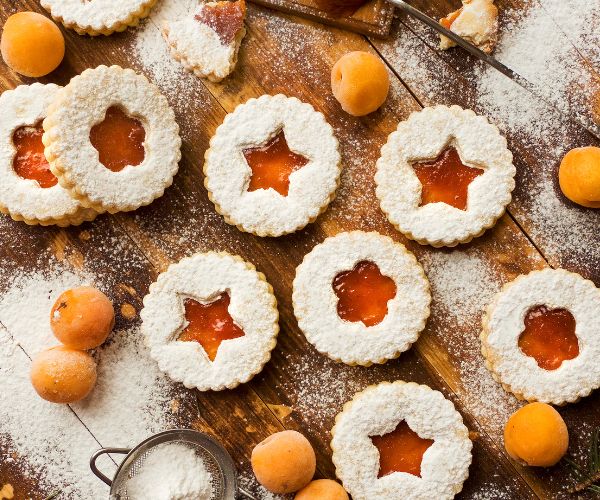
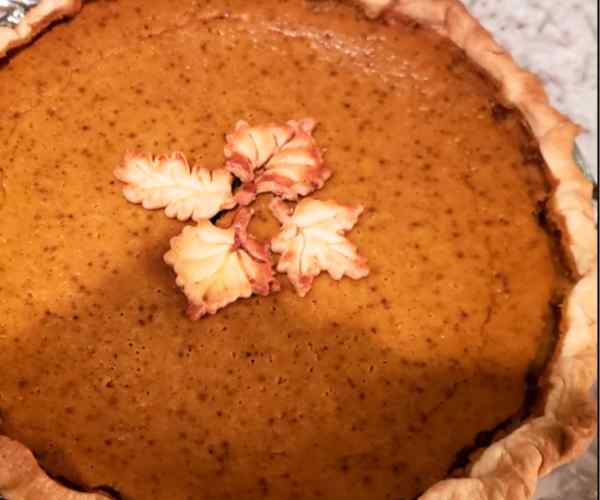
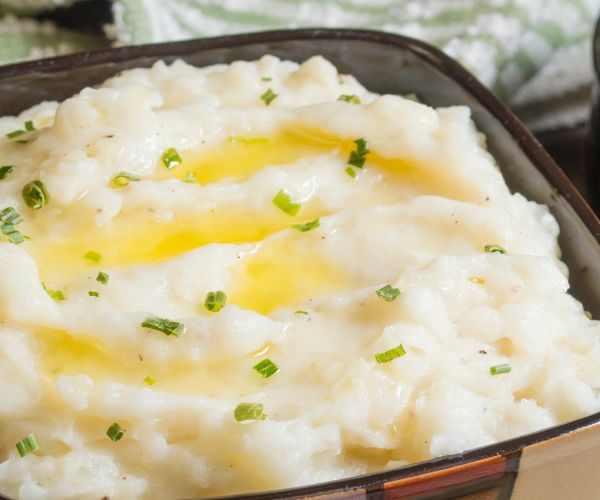
Did you know you can freeze mashed potatoes and squash? Why wait until you are entertaining to start mashing potato and veg?
A good rule of thumb when thinking about what freezes well is to walk through the aisle of the local grocery store.
If you do not want to freeze your mash you can certainly prepare a duchess style potato casserole the day before and pull it from the fridge to bake on Thanksgiving Day.
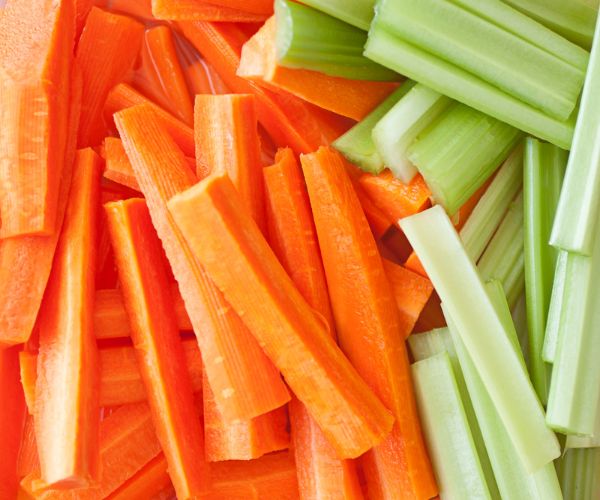
Carrots and celery should all be chopped 2 days ahead of time for stuffing and stock. I avoid cutting the onions days in advance as they will smell up the fridge once cut.
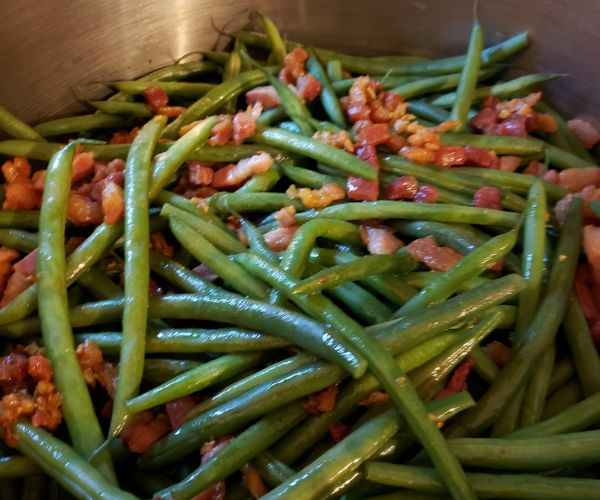
Snap and blanch green beans up to 2 days before.You can simply microwave them an add butter and seasoning when you are ready to place on the table.
Make your cranberry sauce from fresh berries the day before.
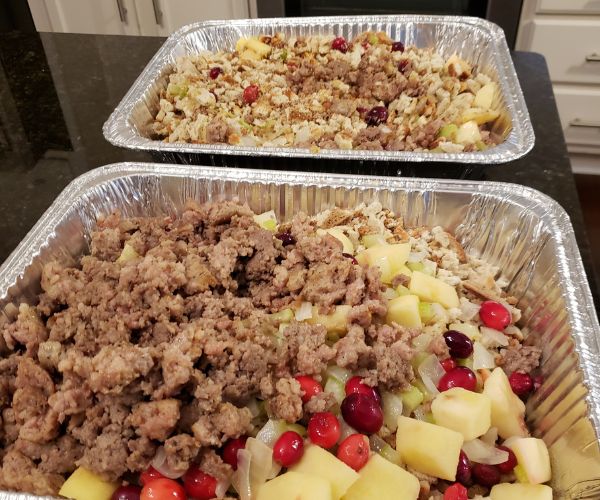
When it comes to the stuffing. You can prepare all the ingredients for your stuffing the night before and place in the refrigerator separately. If you want to assemble the stuffing with all of its ingredients to be popped into the oven make sure you are not mixing hot and cold ingredients. The USDA states that for food safety reasons that you freeze it.
If you do not plan to use the droppings from the turkey to make gravy then you can certainly make it a day or two before.
The Bird Is The Star Of The Meal
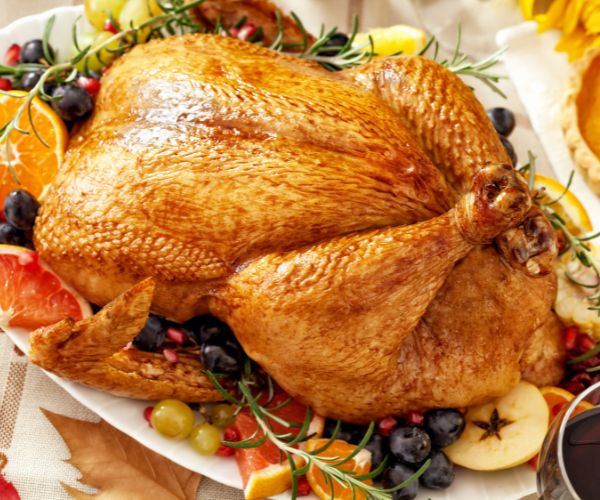
Selecting A Turkey
You have many choices when it comes to selecting the right turkey.
- Fresh From The Butcher
- Fresh From The Farm
Then there more choices:
There are
- organic
- regenerative
- conventionally raised birds
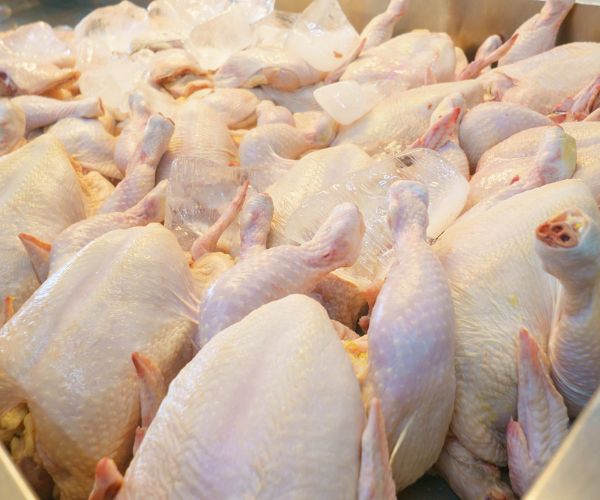
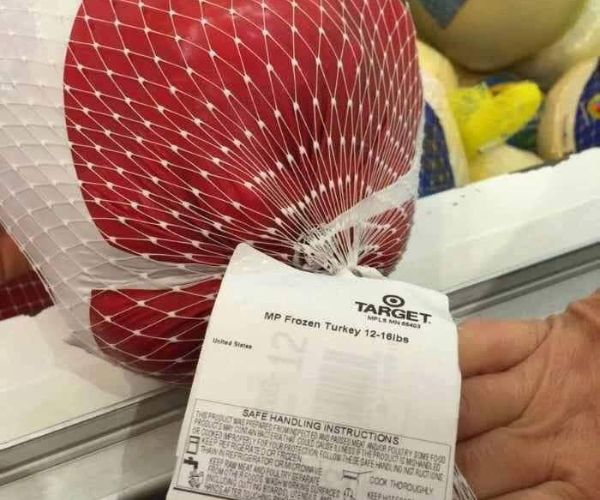
If you buy a frozen turkey from the grocery store like most people do you must take it out of the freezer 3-5 days ahead depending on the size. Defrost it in the refrigerator and remember to put something under it in case the packaging leaks and to catch all condensation.
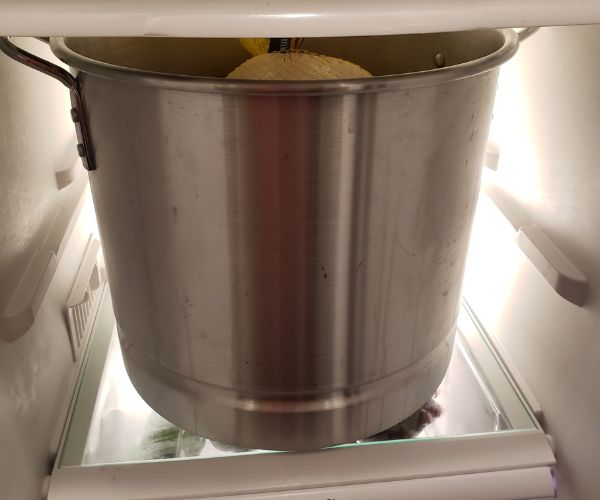
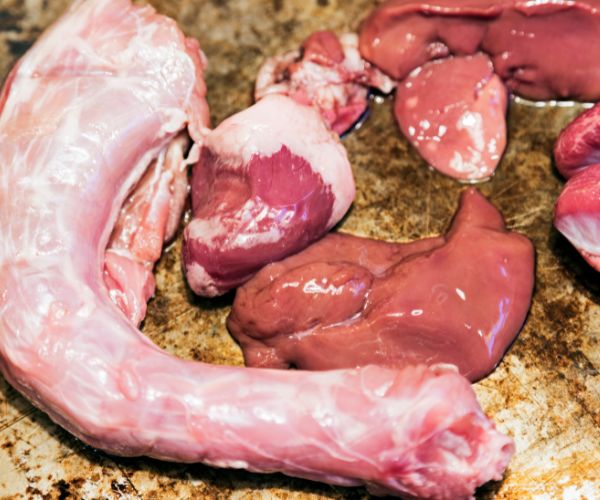
24 hours before you plan to cook it remove all the innards. There is usually a neck bone and some giblets inside on either end.
Don’t throw these away as they can be added to the stock for your homemade gravy.
In addition to whole birds you have the option to just get a whole turkey breast. We do this sometimes We have made them dry brined and also wrapped them in bacon to keep them moist and flavorful.
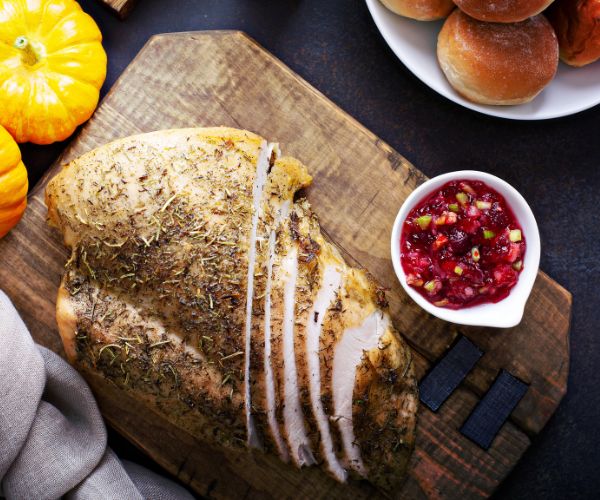
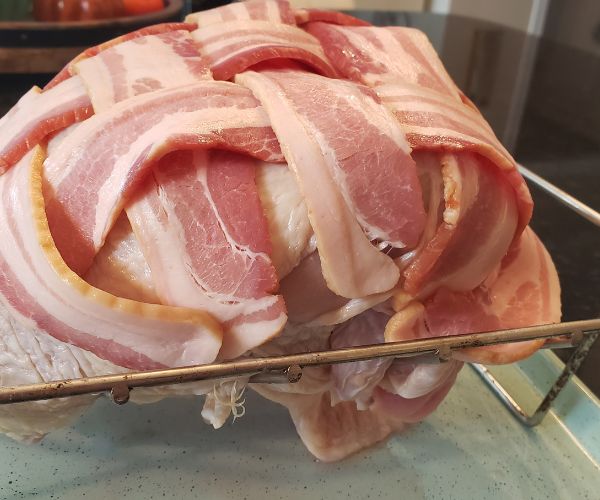
Brining The Turkey
Wet Brining – Which is soaking the bird using a mixture of salt and spices. The purpose of brining this way is to infuse water into the skin and meat of the turkey so that it remains moist while cooking.
This method requires a large vessel to be placed in the refrigerator and is quite heavy to manage. There are varying schools of thought on the effectiveness of wet brining. Today’s big named poultry suppliers are already adding a solution of water and salt to the birds. This adds weight and since you buy by weight the food supplier makes more per pound. If you brine in addition to the already brined poultry it may just water down the taste of the turkey.
If you are purchasing a fresh bird from a butcher or farmer you can still use this method of brining without duplicating the effort.
What is the second option?
Dry Brining- Which is applying a rub of salt and spice onto the skin and in the cavity of the bird overnight. This traps the turkeys moisture inside for better flavor and a crispier skin.
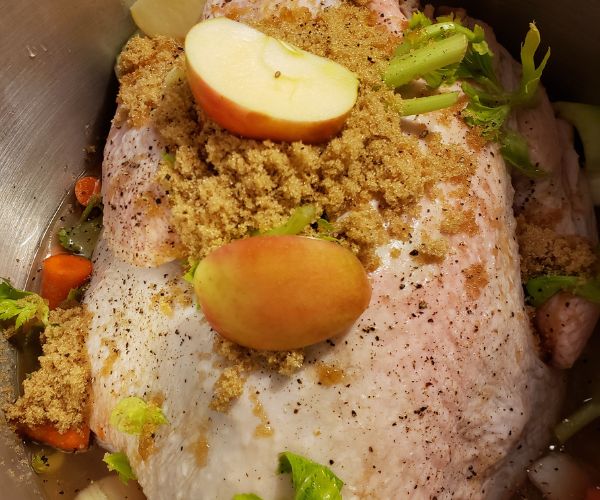

There are many methods to cooking a turkey. Select the one you are most comfortable with and then experiment from there.
Spatchcocking (which is removing the backbone and splaying the bird flat. This method is a faster way to cook the meat. It is typically done on a grill since you need a large surface.
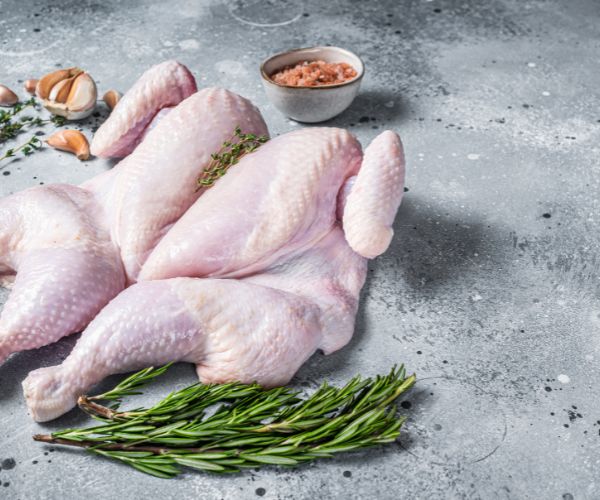
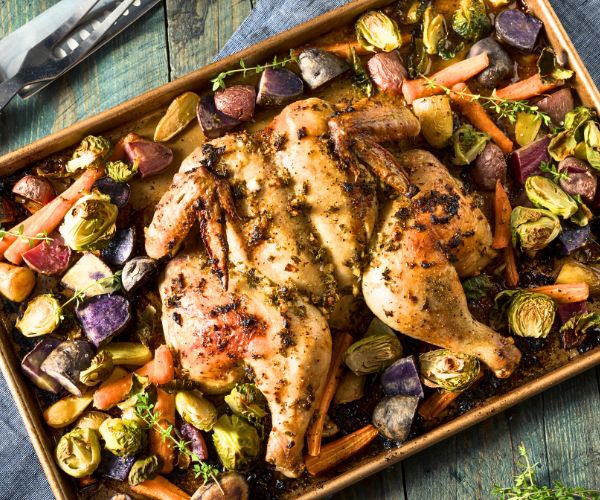
We have done this with whole chickens and have posted a video below of that. We will try to get a video of us spatchcocking a turkey as well.
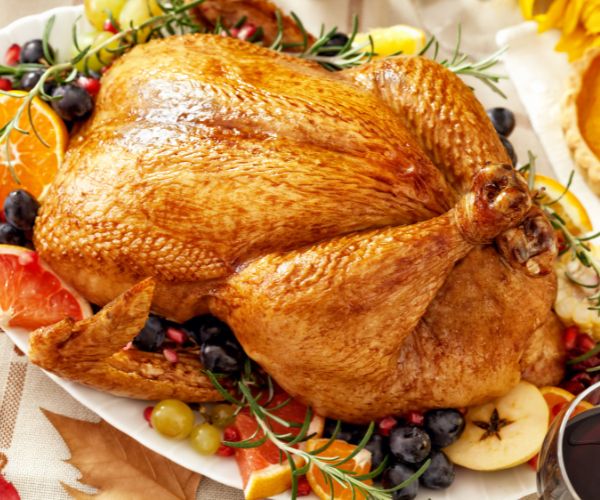
Roasting In An Electric Roaster This is a popular method right now, as it allows for the bird to cook in a more condensed space keeping it moist. It also frees up oven space for other items.
Nicole did this last year and the turkey turned out moist and delicious. Her photos are below.
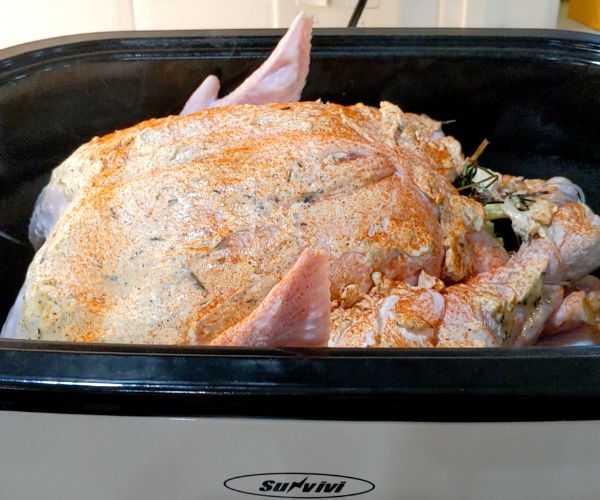
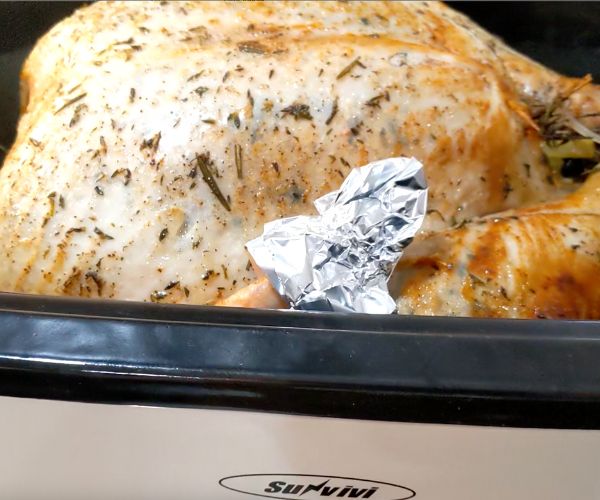
Roasting In A Traditional Oven This is the way our mothers and grandmothers did it and is a tried and true method of cooking a turkey. The only difference is they stuffed the cavity of the bird and today it is not necessarily deemed good food safety practice to do so. You can still do so but you must follow the guidance the USDA has set forth about this method. “The dry and wet ingredients for stuffing can be prepared separately ahead of time and chilled, but do not mix the dry and wet ingredients together until you are ready to spoon the stuffing mixture into the turkey cavity. Spoon the stuffing in loosely — about 3/4 cup of stuffing per pound.” Once the turkey is stuffed it must go immediately into an oven at no less then 325 F.
source: https://www.usda.gov/media/blog/2017/11/20/youve-got-right-stuffing-tips-handle-stuffing-care
Deep Frying Outdoors This cooking method requires much care and safety precautions. By not doing so you could endanger a life or cause serious destruction to your property. If you plan to deep fry your turkey please follow the instructions to a tee. We are only listing a few such as keeping the hot pot of oil far away from structures and trees. Do not drop a frozen turkey into the hot oil. Use heat resistant gloves and keep animals and children away from the hot oil. Read up on this topic before attempting to deep fry your bird. We have not attempted this but have heard the flavor is amazing.


We typically stuff some aromatics (apple celery carrot onion and herbs) inside the cavity. We use salt, ghee and chopped herbs to make the lovely skin. We smoke our turkey for 2 hours on our Kamado Joe. We place a tinfoil tray with more aromatics under it to catch the drippings. Those will be used in a gravy along with the stock from the innards. We the finish our turkey in the oven. Once it reaches 165 to 170 F we place it to rest for at least one hour.

Setting The Table
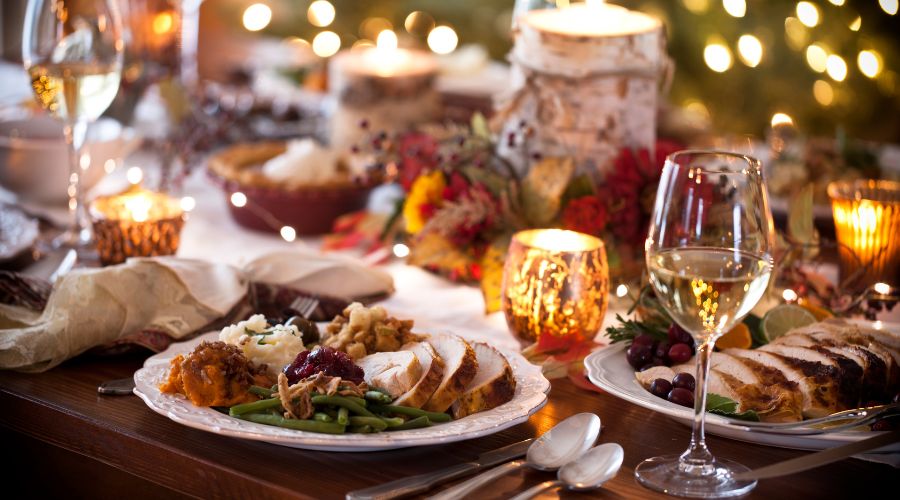
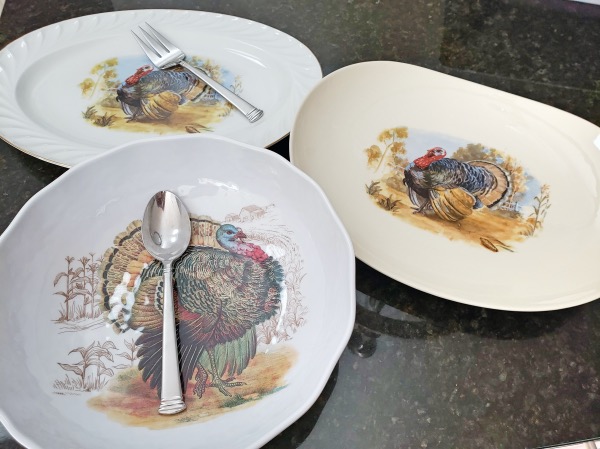
Plan your tablescape, decide on your color and theme. Do you want it to be rustic, elegant, perhaps a mix of both? Not enough matching plates, don’t worry. Buy plain white plates they will work with anything and you can alternate printed china plates with plain white plates. The same goes for stemware and napkins, it does not all have to match perfectly.
Always use a tablecloth regardless of how formal or informal your Thanksgiving table will be.
If you plan to have flowers on the table make sure you take into consideration, allergies that your guests may have. Lilies can be a big problem for some.
Never, ever use scented candles as this interferes with the smells of food.
If you are having all family it could be fun to place small picture frames with old family photos into the mix.
We prefer to let people sit where they are the most comfortable, but you may want to assign seats, If you do, there are so many wonderful options for place card holders that you can DIY for pennies.


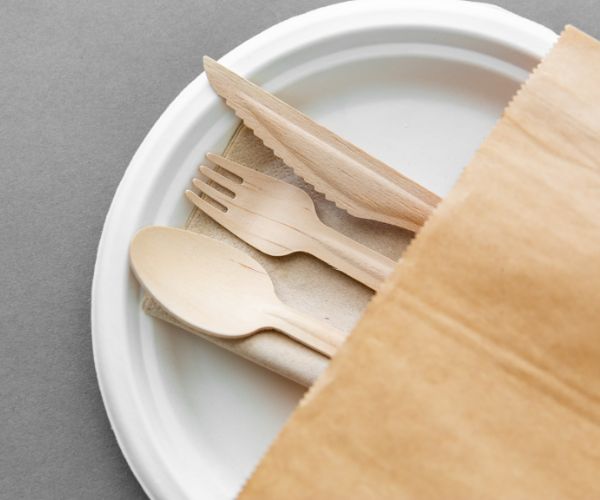
If you are hosting a less formal Thanksgiving gathering such as a potluck you may plan to have guests eat their appetizers or meal from some type of paper plate. A quick search on Google netted me some ideas for the table settings using paper plates.
If you go this route please spring for the more expensive sturdy plates. You do not want gravy seeping through, messy spills, and the risk of an embarrassed guest.
If you are planning to be less formal, I still suggest using quality utensils. The Dollar Store has the silver color or you can opt to use heavy-duty clear utensils they are always appropriate.
I rarely serve wine from anything other than glass or crystal. Avoid the plastic fake stemware as it is never stable when half full and is tacky. If you have a very large crowd it is acceptable to use the plastic short cocktail glasses for soda and drinks.
Remember to plan for all your serving dishes and utensils, there is nothing worse than rifling through cabinets and drawers in front of your guests looking for a suitably sized bowl or your late grandfather’s antique carving set.
We found a little trick to entertaining is planning the serving bowls by placing a slip of paper inside stating what will be served from that bowl. Believe it or not this relieves a bit of stress at the plating time of the meal. It also gives you time to hunt for the perfect bowl in your cabinets or order one to be delivered by Amazon.
Cleaning Your Home
1 Week Before
Refrigerator space is one thing many people do not plan for. One week before Thanksgiving I run through all the condiments and containers. I use up anything I can and discard anything that has sat too long. This gives me a chance to wipe down the shelves with a soapy cloth and rinse vegetable and fruit drawers. My fridge will not only have more space, be clean for food storage, but will be presentable for my guests.
Don’t forget the outside and top of the refrigerator. Clean things you may miss on a weekly basis, the ceiling fan, that picture of your great grandmother on the wall, dust and vacuum the day before, don’t bother washing the floors unless absolutely necessary, this is best left for the day after to clean up any spills.

1 Day Before
Dust everything, vacuum all the floors, shake out rugs. Clean mirrors, glass, and wipe all the glasses with a clean cloth. Bathe pets and make sure the entrance ways are clear of leaves and webs.
The Day Of
The day of your gathering clean the bathrooms, run and empty the dishwasher, empty the trash. Before your guests arrive, wipe down the counters and clean the sink.
Have a plan worked out with a co-host or close friend to help you with removing trash, clearing dishes, or opening the wine bottles You would be surprised at how much these little things get in the way of actually entertaining and enjoying your guests.
Hosting
Being A Gracious Host
As your guests arrive take their coats and purses to the designated spot and hand them a flute of something bubbly, perhaps champagne, prosecco, sparkling juice, or seltzer water. Placing a cranberry or two in the flute along with some rosemary and/or an orange slice is quite festive.
Raise your glass for a toast once everyone has been seated for dinner, tell them how special they are to you and how grateful you are to know them.

Dealing With Leftovers
Food Safety
Hot and cold foods should never sit out on the counter for more than two hours. After the meal has been served and folks have had an opportunity to get seconds. It would be a good time to announce you will be packing up some of the food. Doing this prior to serving dessert is a natural step in your process.
Packing To Go Food
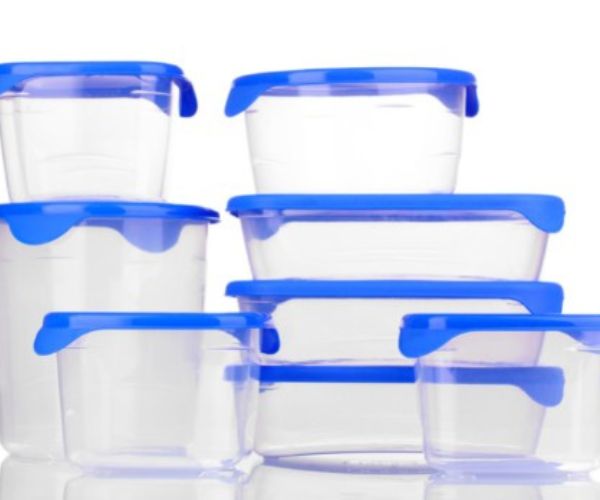
Being a gracious host means thinking out your guest’s experience before the day of hosting. One of the ways you can make things less awkward after the meal is to have to go containers ready to go so guests may fill them with their favorites and place them into your refrigerator until they are ready to leave.
We recommend purchasing many of the same types of containers that will stack nicely to save space. You may want have paper bags and markers handy so they can write their name on a bag to ensure they get their own containers.
You will need to place a reminder by the door so as people are leaving they have their bags.

The End Of The Evening
Lastly after they have all left for the evening is nice to send a quick text to each guest, thanking them for coming and mentioning any contributions they made. This may have been a gift they made or brought or even help they gave in clearing and stacking the plates.


